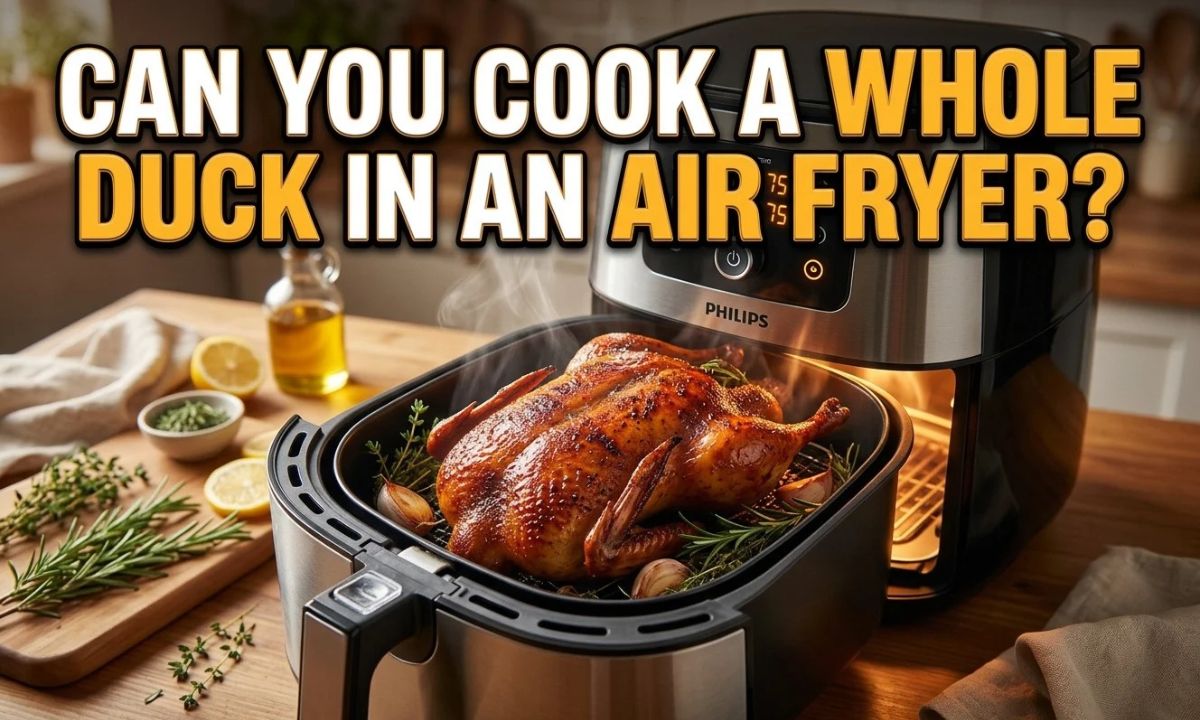
Yes, you can cook a whole duck in an air fryer, provided the bird fits comfortably and the air fryer can circulate hot air around it.
For home cooks in the United States, an air fryer can be a practical way to roast a small whole duck while rendering some of its substantial fat and browning the skin. Published air-fryer duck recipes commonly use a lower-temperature stage to cook and render the bird, followed by a hotter stage to crisp the skin. The exact cooking time varies with the duck’s weight, shape, and the air fryer’s design, so a clock should never be the only test for doneness.
The most important safety point is the same whether you cook duck in an air fryer, oven, or another appliance: the United States Department of Agriculture recommends that all poultry reach a minimum internal temperature of 165°F, measured with a food thermometer. For a whole duck, check multiple locations, including the thickest part of the breast and the innermost areas of the thigh and wing. The bird should also be completely thawed before you begin.
An air fryer is essentially a compact convection cooker: hot air moves rapidly around the food, cooking and browning the exposed surface. That setup is particularly useful for duck because duck skin contains a thick layer of fat that needs time and heat to render before the skin becomes crisp.
The biggest limitation is physical space. A whole duck needs enough clearance for the air to circulate around the bird and enough room for the basket, drip area, or rotisserie system to handle the rendered fat. A small 3- to 4-pound duck is more realistic for many large basket-style air fryers than a 5- to 6-pound bird. Larger air-fryer ovens with rotisserie functions may accommodate larger birds, but the manufacturer’s capacity and clearance instructions should take priority.
Published recipes illustrate the range. Air Frying Foodie describes a 3- to 4-pound whole duck cooked at 300°F for roughly 45 to 55 minutes, while Supergolden Bakes uses a 4 1/2-pound duck with a lower-temperature cooking stage followed by a high-temperature crisping stage. These recipes demonstrate that whole-duck air frying is feasible, but they should be treated as starting methods rather than universal cooking charts because air fryers differ substantially.
Source: supergoldenbakes.com
Best size
A smaller whole duck is generally easier to fit and cook evenly. Measure the actual basket or oven cavity before buying or thawing the bird.
Best appliance style
Large-capacity air-fryer ovens and models with rotisserie accessories offer more room than compact basket fryers.
Main challenge
Duck produces a large amount of rendered fat, which can accumulate quickly and potentially cause smoke if it is not managed.
What Makes Duck Different From Chicken
Duck has much more fat beneath the skin than chicken, so simply applying a high temperature from the beginning is not always the best approach. The skin can brown before enough fat has rendered, leaving the surface dark while the underlying skin remains chewy. A moderate initial temperature gives the fat time to render, while a hotter finishing stage helps the skin become crisp.
Duck also contains different proportions of meat and fat than chicken. A whole duck can look large but yield less carved meat than its raw weight might suggest. That is one reason a 4-pound duck may serve fewer people than a similarly sized chicken.
How to Cook a Whole Duck in an Air Fryer
For a practical home method, use a completely thawed duck, dry the skin thoroughly, begin at about 300°F, drain fat as needed, and finish at about 400°F for browning. The thermometer, rather than a fixed cooking time, determines when the duck is safe to eat.
The following method is a useful starting point for a whole duck around 3 1/2 to 4 1/2 pounds in a suitably large air fryer. Your appliance may require more or less time. Always consult the appliance manual for maximum food size, basket clearance, and whether a drip pan or rotisserie attachment can be used.
Source: recipethis.com
1. Thaw the duck completely
If the duck is frozen, thaw it in the refrigerator. USDA guidance says a whole duck may take 1 to 2 days or longer to thaw depending on size. Never thaw poultry on the kitchen counter.
2. Remove the giblets and excess fat
Check the cavity for the neck and giblet packet and remove them before cooking. Trim large pieces of loose fat or skin around the cavity if necessary.
3. Do not rinse the raw duck
Pat the bird dry with paper towels instead. USDA advises against washing raw poultry because splashing water can spread bacteria around the kitchen.
4. Dry and season the skin
For better browning, dry the duck thoroughly. Season with salt and pepper, or use a preferred duck seasoning. If desired, lightly score the skin over the breast without cutting into the meat.
5. Air-dry for better skin
Place the seasoned duck uncovered on a tray in the refrigerator for several hours or overnight. This allows the surface to dry, which can improve crisping.
6. Start at about 300°F
Place the duck according to the air fryer’s design, usually breast-side down for the initial stage when following a flip-based method. Cook for roughly 30 minutes, then inspect the rendered fat and the bird.
7. Drain excess duck fat
If a significant amount of fat has collected and your appliance design allows safe draining, carefully remove it according to the manufacturer’s instructions. Hot duck fat can cause burns.
8. Flip and continue cooking
Turn the duck breast-side up and continue at about 300°F for another 25 to 30 minutes as a starting point. Larger birds may require substantially longer.
9. Crisp the skin
Increase the air fryer to about 400°F for roughly 5 to 10 minutes. Watch closely because the skin can darken quickly at this stage, especially if you use honey or another sugary glaze.
10. Check the internal temperature
Insert an instant-read thermometer into the thickest parts without touching bone. The duck must reach at least 165°F throughout for food safety.
11. Rest before carving
Transfer the duck to a cutting board or platter and let it rest before carving. A rest of about 10 to 30 minutes is commonly used in whole-duck recipes, with the exact rest depending on the bird and recipe.
A Practical Starting Schedule
For a hypothetical 4-pound duck, a reasonable starting schedule is 300°F for 30 minutes, flip and continue at 300°F for another 25 to 30 minutes, then finish at 400°F for 5 to 10 minutes. This is not a guaranteed cooking time. Begin checking the internal temperature before the expected finish and continue cooking until the safe endpoint is reached.
The total time may be shorter or longer depending on the air fryer’s wattage, basket shape, airflow, starting temperature of the duck, and exact weight. A recipe developed for a rotisserie air-fryer oven should not automatically be transferred to a compact basket model.
How to Get Crispy Duck Skin Without Burning It
Crispy skin depends more on moisture and fat management than simply turning up the heat. Duck skin is naturally fatty, and the goal is to render enough of that fat while keeping the surface dry enough to brown.
Several traditional roast-duck techniques translate well to air frying. Patting the bird dry, lightly scoring the skin without cutting into the flesh, and air-drying the uncovered duck in the refrigerator can all help the surface become drier before cooking. Published roast-duck methods from major food publications also emphasize scoring or pricking the skin so fat can escape during cooking.
Source: food.ru
Keep the skin dry
Moisture on the surface works against crisp browning. Pat the duck thoroughly dry before seasoning.
Score only the skin and fat
Shallow cuts through the skin and fat can encourage rendering. Avoid cutting deeply into the meat because that can release juices and create unnecessary surface damage.
Avoid excessive oil
A whole duck generally contains plenty of natural fat, so adding a large amount of oil is usually unnecessary.
Use high heat briefly
A short finishing stage around 400°F can improve browning after the fat has had time to render.
Be careful with sugary glazes
Honey, maple syrup, and similar ingredients can burn quickly at high temperatures. Apply them late and monitor the skin closely.
Why Duck Can Smoke in an Air Fryer
The large amount of duck fat is both an advantage and a challenge. As it renders, it can collect in the lower part of the appliance. If the fat becomes excessively hot, it can smoke. A published whole-duck air-fryer recipe specifically recommends using a lower cooking temperature to reduce the chance of smoking and draining excess fat during cooking when necessary.
If your air fryer begins producing substantial smoke, stop the appliance and follow the manufacturer’s procedure for safely removing or draining accumulated fat. Do not pour hot fat into a sink or handle the basket carelessly. If the appliance repeatedly smokes with a properly sized duck, the model may not be suitable for cooking that bird.
How to Tell When a Whole Duck Is Done
The safest way to determine whether whole duck is done is to measure its internal temperature with a food thermometer. USDA guidance sets 165°F as the safe minimum internal temperature for poultry, including whole duck. Color, skin crispness, cooking time, and the appearance of juices are not reliable substitutes for a thermometer.
For a whole duck, check more than one location. USDA guidance for whole poultry recommends checking the innermost part of the thigh and wing as well as the thickest part of the breast. Insert the probe into the meat rather than against a bone, because contact with bone can distort the reading.
Source: bonappetit.com
165°F minimum
The thickest and coolest parts of the duck need to reach at least 165°F for the USDA-recommended safe minimum endpoint.
Check several locations
Probe the thickest part of the breast and the innermost thigh and wing areas to identify any cooler portion of the bird.
Do not judge by skin color
A deeply browned duck can still be undercooked internally, while a safely cooked duck may not have the exact degree of browning you prefer.
Do not rely only on time
Cooking times published for whole duck can differ widely because duck weight, appliance design, airflow, and starting temperature all affect the result.
What If the Skin Is Done but the Duck Is Not at 165°F?
Lower the air fryer temperature rather than continuing at maximum heat. Continue cooking until the internal temperature reaches at least 165°F. If the skin is already deeply browned, you can shield the most exposed areas if your appliance instructions allow it, but do not obstruct the airflow or place materials where they could contact the heating element.
If the bird is consistently browning too quickly while the center remains cool, the duck may be too large for the appliance or the cooking temperature may be too aggressive. In that situation, finishing the duck in a conventional oven may be more practical than repeatedly forcing a poor fit.
Common Mistakes to Avoid
Most whole-duck air-fryer problems come from choosing a bird that is too large, starting with a wet surface, using excessive heat too early, or relying on a timer instead of temperature. Fixing those issues makes the method much more predictable.
The goal is not to reproduce a single published recipe exactly. Instead, use the documented techniques as a framework and adapt them to the size and design of your air fryer while keeping the food-safety endpoint fixed.
Source: greatbritishchefs.com
Forcing an oversized duck into the basket
If the bird touches the heating element or blocks airflow, choose a smaller duck, use a larger air-fryer oven, or cut the duck into pieces.
Starting with a wet bird
Surface moisture makes browning more difficult. Pat the duck thoroughly dry and consider uncovered refrigerator drying.
Cooking at maximum heat from start to finish
High heat can brown the skin before enough fat has rendered. A moderate initial stage followed by a short hot finish is more suitable for many whole-duck methods.
Ignoring rendered fat
Duck can release a surprisingly large quantity of fat. Monitor the drip area and drain it safely when necessary.
Washing the raw duck
USDA guidance does not recommend washing raw poultry because splashing can spread bacteria. Drying with paper towels is the safer preparation step.
Stuffing the cavity with a dense filling
A packed cavity changes heat penetration and can complicate cooking. For a straightforward air-fryer method, use the cavity for a small amount of loose aromatics or leave it empty.
Air fryers differ in heating elements, airflow, basket size, and maximum capacities. Your appliance’s instructions take priority over a generic recipe.
When You Should Not Air-Fry the Whole Duck
Choose another cooking method if the whole bird does not fit with adequate clearance, if the appliance cannot safely handle the duck’s weight, or if the rendered fat cannot drain without contacting the heating element. A conventional oven or a combination of oven roasting and finishing under a broiler may be easier for a large duck.
Cutting the duck into breasts, legs, and wings is another practical option. Separate pieces are easier to position and allow you to cook different cuts according to their needs. This is especially useful when the duck is too large for your air fryer.
Frequently Asked Questions
Q
How long does it take to cook a whole duck in an air fryer?
There is no single reliable time for every whole duck. Published recipes range from roughly an hour for smaller birds to longer schedules for larger ducks. A useful starting point for a 3 1/2- to 4 1/2-pound duck is around 60 to 70 minutes, often using a lower-temperature stage followed by a short high-temperature finish. Start checking the internal temperature before the expected finish and continue cooking until the duck reaches at least 165°F throughout.
Q
What temperature should I cook a whole duck in an air fryer?
A two-stage approach is practical. Many whole-duck air-fryer recipes begin around 300°F to allow the fat to render, then increase the temperature to about 400°F briefly to crisp and brown the skin. The cooking temperature is different from the food-safety endpoint: regardless of the air fryer’s setting, the duck should reach at least 165°F internally.
Q
Should I put oil on a whole duck before air frying?
Usually, only a small amount is needed, and some recipes use no added oil because duck skin contains substantial natural fat. Pat the skin dry first. If you use oil, apply it lightly rather than coating the bird heavily.
Q
Do I need to score or prick the duck before air frying?
Lightly scoring or pricking the skin can help fat escape and is a common technique in roast-duck preparation. Make shallow cuts through the skin and fat without cutting into the meat. Avoid aggressive piercing because the goal is to release surface fat, not create deep channels into the flesh.
Q
Can I cook a frozen whole duck directly in an air fryer?
For a whole duck, thawing completely in the refrigerator is the more practical approach because it allows the bird to cook more evenly and makes it possible to dry the skin properly. USDA says a whole frozen duck may take one to two days or longer to thaw in the refrigerator, depending on size. Do not thaw it on the counter.
Q
How do I stop my air fryer from smoking when cooking duck?
The main issue is usually rendered duck fat becoming excessively hot. Use a moderate initial cooking temperature, monitor the fat accumulation, and safely drain excess fat according to your appliance’s instructions. If heavy smoking continues, stop cooking and reassess whether the duck is too large or too fatty for that appliance.
✦ Wrapping Up
Conclusion
Yes, a whole duck can be cooked in an air fryer, and the method can produce crisp skin and flavorful meat without requiring a large conventional oven. The key is choosing a bird that fits, drying the skin thoroughly, allowing enough time for the fat to render, and finishing with higher heat for browning.
The most important adjustment is to treat published cooking times as estimates rather than guarantees. Air-fryer capacity, airflow, duck weight, and starting temperature all affect the result. Use the thermometer as the final authority and make sure the whole bird reaches at least 165°F before serving.
If your duck is too large for the basket or the appliance cannot safely manage the rendered fat, do not force the method. A conventional oven or cooking the duck in separate pieces can produce a more predictable result.
💡 Key Takeaway
For a small, completely thawed whole duck, start with a moderate air-fryer temperature around 300°F, drain rendered fat as needed, finish briefly around 400°F for crisp skin, and cook until a thermometer confirms at least 165°F throughout.