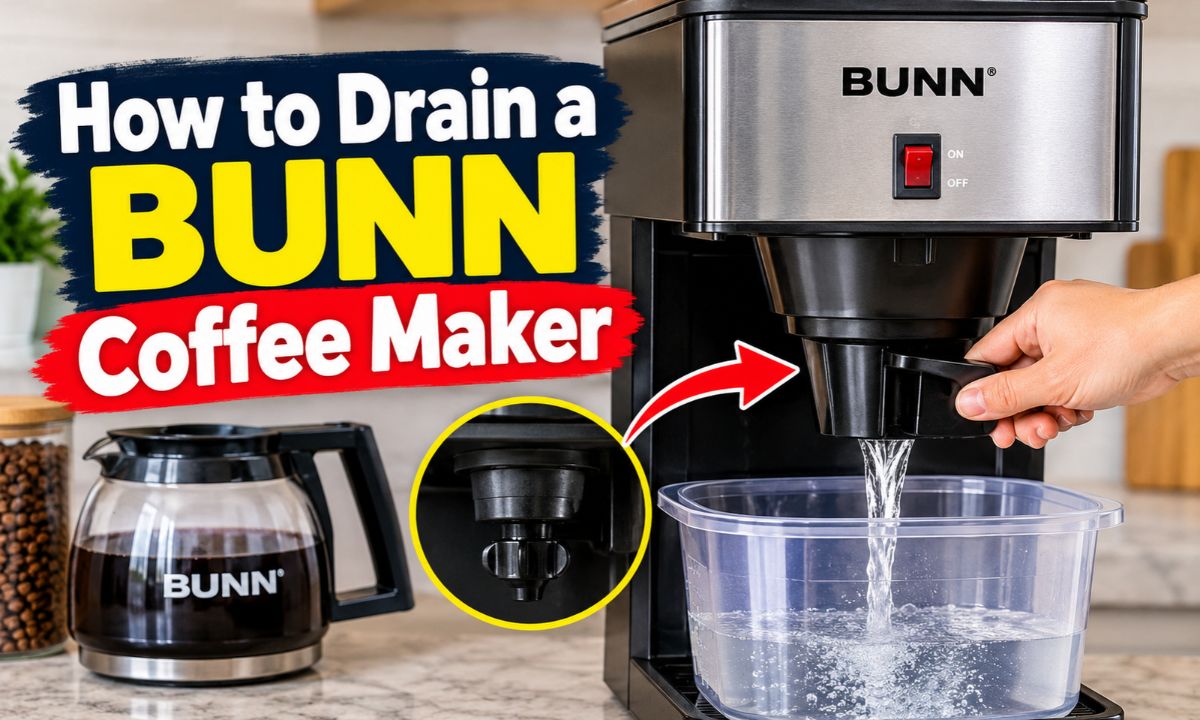
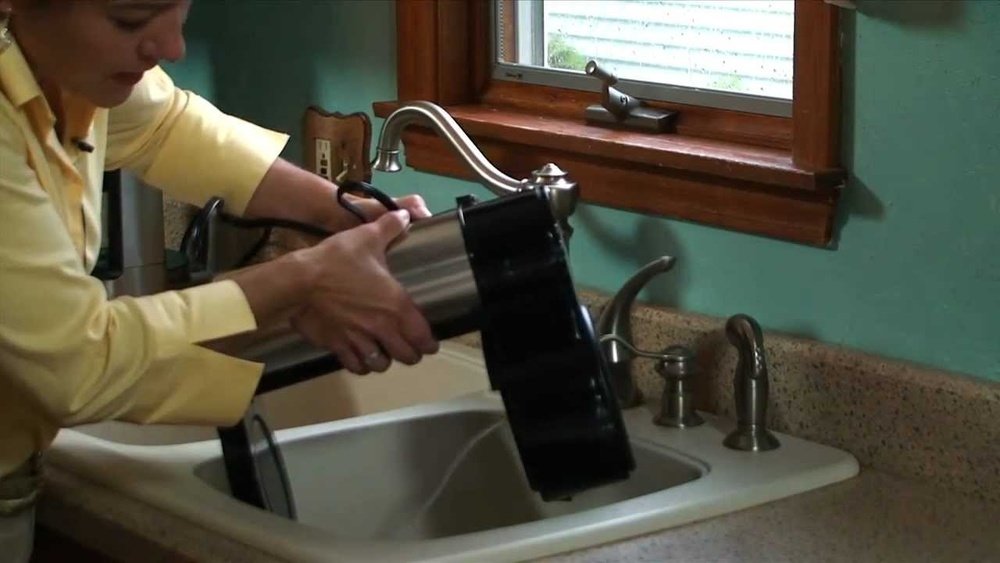
To drain a BUNN coffee maker, unplug it, let hot components cool, and follow the draining procedure for your exact model to remove water from its internal tank.
In American homes, a BUNN coffee maker is often used for everyday breakfasts, busy mornings, and weekend coffee. If you are moving to another home, storing your brewer for an extended period, or preparing for freezing temperatures, removing its remaining water can help prevent leaks and potential freeze damage.
The correct draining method depends on the model. Many BUNN home brewers keep water hot in an internal tank, so emptying the glass carafe or pouring water out of the top does not necessarily drain the machine. Before starting, check your model’s instruction manual for the location of any drain plug, access panel, or other specified components. Never open a hot brewer or force a part that does not release easily.
Draining a BUNN coffee maker is useful when you need to store, transport, service, or protect the appliance from freezing temperatures. The goal is to remove as much water as the manufacturer’s procedure allows, including water that may remain inside the heating tank.
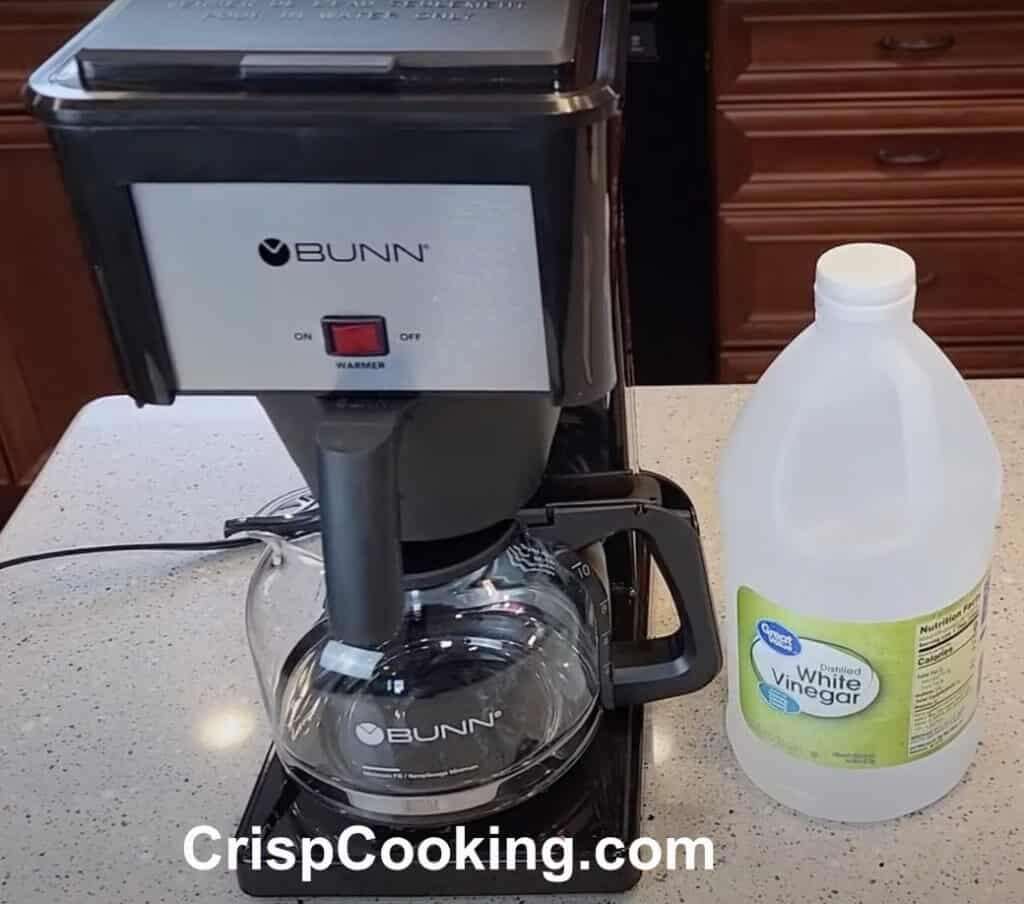
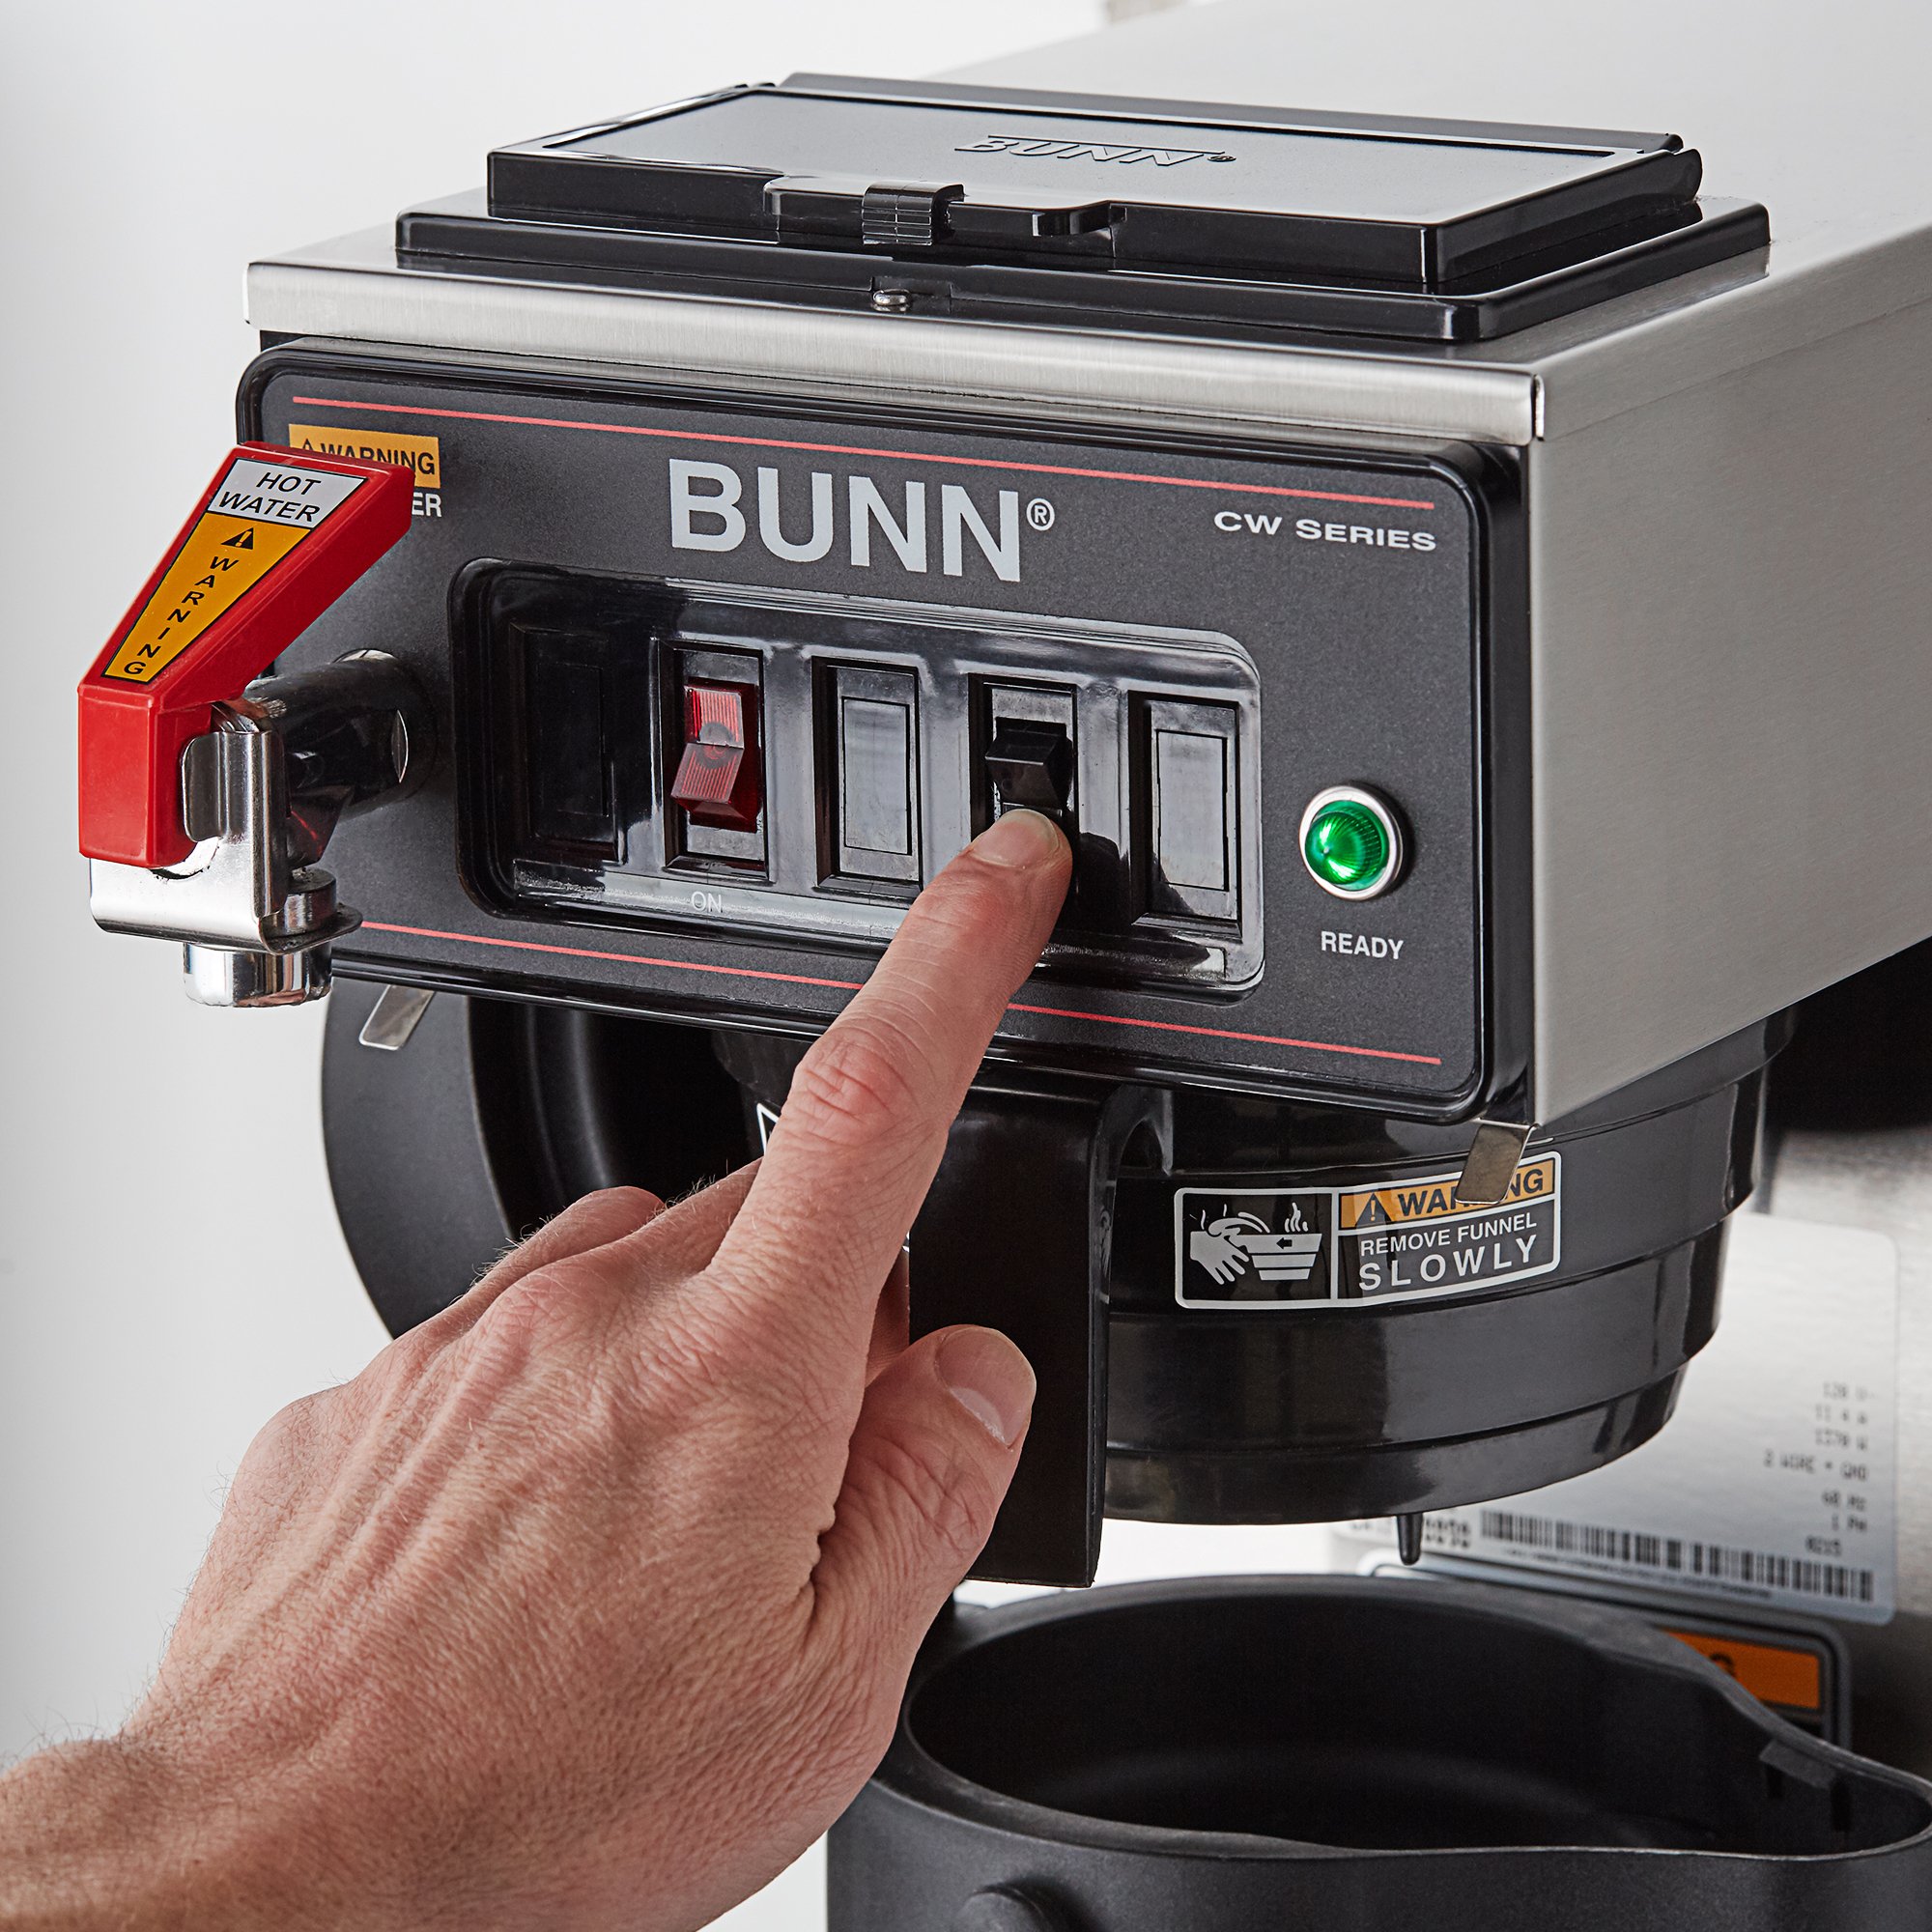
BUNN brewers differ in their design. Some home models use an internal hot-water tank, while commercial machines and specialty models may have different plumbing, connections, or service procedures. Identify the model number on the brewer’s label before choosing a method.
Source: thekitchenix.com
Moving or transporting the brewer
Removing residual water helps reduce spills in a moving box or vehicle. Secure removable parts separately and keep the brewer upright whenever its instructions require it.
Long-term storage
Draining the machine according to its manual reduces standing water inside the brewer during an extended period without use.
Cold-weather protection
Water left inside an appliance can expand if it freezes. Follow the manufacturer’s winterizing instructions if the brewer will be exposed to freezing temperatures.
Maintenance or service
Some repairs require the water system to be emptied first. If a repair involves wiring, heating elements, or internal plumbing, follow the model-specific service instructions or use a qualified technician.
What You Need Before Draining the Brewer
Gather a few basic supplies before you start. You do not usually need specialized tools for ordinary draining, but your specific model may require access to a designated drain plug or cover. Check the owner’s manual first so you do not remove the wrong component.
Never begin by tipping a hot, plugged-in brewer or removing panels to search for a drain. The machine may contain hot water even when it is not actively brewing.
Source: kitchflair.com
Owner’s manual and model number
Use the instructions for your exact BUNN model. Look for the manufacturer’s draining, storage, or winterizing procedure.
A heat-resistant container
Choose a container large enough to collect the expected water without overflowing. Do not use a thin disposable container for water that may still be hot.
Absorbent towels
Place towels around the work area to catch drips and protect the countertop.
A safe, dry work surface
Keep the brewer away from standing water, and make sure the power cord and plug remain dry.
How to Drain a BUNN Coffee Maker Step by Step
The safest approach is to prepare the machine, disconnect its power, cool it, and then use the draining procedure specified by the manufacturer. The following sequence provides a general preparation guide; the actual drain location and opening method must come from your model’s instructions.
Do not assume that every BUNN brewer has the same drain plug. If your manual does not identify a user-accessible drain, contact BUNN or an authorized service provider before attempting to open the appliance.
Source: roam.ameliaclassics.co.uk
Step 1: Identify the model
Find the model number and consult the corresponding owner’s manual. Confirm that the instructions apply to your brewer rather than a similar-looking model.
Step 2: Switch off and unplug the brewer
Disconnect the power before handling the machine or any drain component. Keep the plug and cord away from water.
Step 3: Allow the brewer to cool
Wait until the machine and any water you may encounter have cooled sufficiently for safe handling. The internal tank can retain heat after the machine is unplugged.
Step 4: Empty removable components
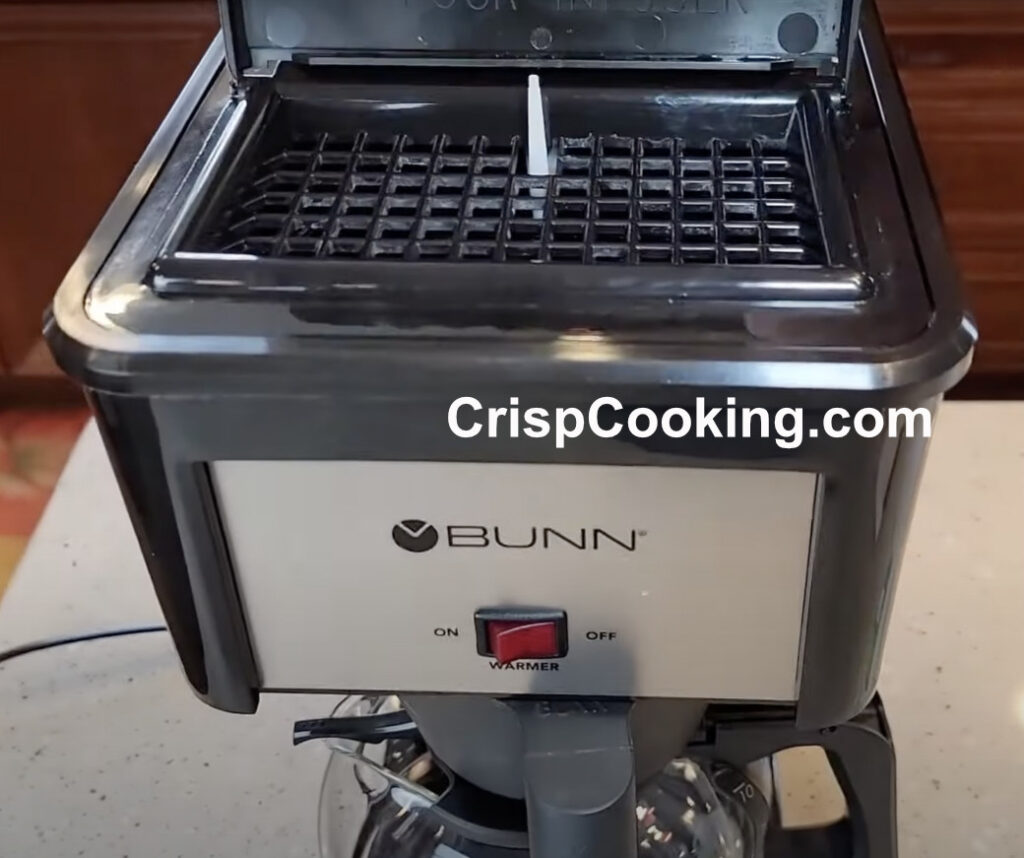
Remove the carafe or server, discard any brewed coffee, and empty any removable water container if your model has one. This step removes accessible water but may not empty the internal tank.
Step 5: Prepare the draining area
Place a suitable container and towels beneath the drain location specified in the manual. Position the brewer as directed, without tilting it in a way that could spill water into its electrical components.
Step 6: Open the designated drain
If the manual specifies a user-accessible drain plug or fitting, follow its instructions to open it. Let the water flow into the container without applying excessive force or removing unrelated covers.
Step 7: Allow the water to drain
Wait for the flow to stop as described in the manual. Some water may remain in internal passages, valves, or other components even after the visible flow ends.
Step 8: Close the drain and inspect the brewer
Reinstall or close the specified drain component exactly as directed. Check for loose fittings or visible leaks before storing the machine.
How to Tell Whether the Brewer Has Drained
A stopped water flow is a useful sign that the accessible tank or drain path has emptied, but it does not prove that the entire appliance is completely dry. Follow the manufacturer’s instructions for confirming that draining is finished.
If the machine will be stored in a location that may freeze, do not rely on the absence of dripping alone. Use the manufacturer’s winterizing procedure or obtain service guidance if the instructions do not clearly explain how to empty the internal water system.
Water flow has stopped
The designated drain no longer releases water under the conditions described in the manual.
The drain is secured
The plug or fitting is closed and installed correctly, if the model uses one.
No visible leakage
The area around the drain and the brewer’s exterior remain dry after the draining procedure.
Can You Drain a BUNN Coffee Maker Without a Drain Plug?
Not every BUNN coffee maker provides the same external drain arrangement. If you cannot find a drain plug, do not assume the machine should be turned upside down or opened from the bottom. The internal tank may be connected to tubing and electrical components that are not intended for user access.
Check the model-specific manual for instructions on emptying the tank. If it provides no user draining procedure, contact the manufacturer or an authorized service provider to ask whether the machine can be drained without disassembly.
Source: agreatcoffee.com
Check the exact model
Search the manual using the full model number, not just the BUNN brand name or the appearance of the brewer.
Do not force fittings
A cap or screw that looks like a drain may serve another purpose. Opening the wrong part can cause leaks or damage.
Avoid improvised draining
Do not use compressed air, insert objects into internal tubing, or tilt the brewer sharply unless the manufacturer’s instructions explicitly allow the method.
Why Pouring Water Through the Top May Not Work
Pouring water out of the top of a brewer only removes water that can leave through that opening. An internal hot-water tank, one-way valve, or connected passage may retain water below the opening.
Likewise, running a brew cycle is not a reliable substitute for the manufacturer’s draining procedure. It may add water to the system, leave some water behind, or expose you to hot liquid.
For ordinary cleanup
Empty removable containers and clean accessible surfaces according to the manual.
For complete draining
Use the designated procedure for the internal tank and connected water passages.
Troubleshooting Common Draining Problems
If your BUNN brewer does not drain as expected, stop and check the instructions before trying another method. A lack of water flow may reflect the model’s design, an incorrectly identified fitting, or a restriction in the drain path.
Do not continue if water is unexpectedly hot, the housing is damaged, or liquid reaches electrical components. Keep the brewer unplugged until the problem has been resolved.
Source: kitchenwink.com
No water comes out
Confirm that you are using the drain location and sequence specified for your model. Do not insert tools into the opening or force the plug.
Water keeps dripping
Allow the normal draining process to finish, then check whether the manual identifies additional steps. Persistent leakage after the drain is closed may indicate a damaged seal or loose fitting.
The drain plug will not move
Do not use excessive force or apply an unapproved lubricant. Contact the manufacturer or a qualified service provider if the component will not release as instructed.
The brewer still feels warm
Give the machine more time to cool. Unplugging the brewer does not instantly cool its internal tank or heating components.
Water appears near electrical parts
Do not plug in or operate the brewer. Keep away from wet electrical connections and seek qualified assistance if water has entered the housing.
When to Stop and Get Help
Stop draining the brewer if you cannot identify the correct access point, a component is cracked, a fitting is stuck, or the procedure requires opening an electrical enclosure. A qualified technician can determine whether the remaining water can be removed safely and whether the machine needs repair.
Contact BUNN support
Provide the full model number and explain whether you are preparing the machine for moving, storage, or freezing conditions.
Arrange professional service
Use a qualified technician for internal plumbing problems, damaged components, electrical concerns, or procedures that require disassembly.
How to Store a Drained BUNN Coffee Maker
After draining, prepare the brewer for storage according to the manufacturer’s instructions. Removing accessible water is only one part of storage; the machine also needs protection from moisture, impact, and unsuitable temperatures.
If the brewer will be stored in an unheated garage, vehicle, or other place that may reach freezing temperatures, confirm that the internal water system has been prepared for those conditions. If complete draining cannot be confirmed, choose a suitable above-freezing location instead.
Source: indoorense.com
Keep removable parts clean
Wash and dry the carafe, funnel, and other removable parts according to the care instructions for the specific component.
Allow exterior surfaces to dry
Wipe away residual moisture without allowing water to enter vents, switches, or electrical openings.
Protect the cord
Keep the cord clean and dry, and avoid wrapping it tightly around the machine if doing so strains the cord or plug.
Choose a suitable storage area
Use a dry location protected from freezing conditions unless the manufacturer confirms that the brewer has been properly winterized.
Keep the brewer upright
Use the manufacturer’s transport and storage guidance to reduce the chance of residual water leaking into unwanted areas.
Before Using the Brewer Again
Before reconnecting power, make sure the drain is closed correctly, all required components are reinstalled, and the exterior and electrical connections are dry. Follow the setup and refill instructions for your model before brewing coffee.
Never energize a brewer that may be damaged by freezing or that has water inside its electrical housing. If you suspect freeze damage, leakage, or an internal fault, have the machine inspected before use.
Restore the correct setup
Reassemble the brewer and fill or prime it as directed by the manufacturer.
Check for leaks
Observe the machine for abnormal leakage during the manufacturer’s recommended setup procedure.
Follow the first-use instructions
Complete the prescribed filling and brewing steps before preparing coffee for drinking.
Common Mistakes to Avoid When Draining a BUNN Brewer
Most draining problems are easier to prevent than to fix. The key is to identify the exact model, disconnect power, let the machine cool, and follow its documented procedure rather than relying on a generic method.
Source: kitchenwink.com
Draining the machine while it is plugged in
Always disconnect power before handling the drain or moving the brewer. This reduces electrical risk while you work around water.
Ignoring residual heat
Internal tanks may retain hot water after the brewer is switched off. Allow sufficient cooling time before opening any user-accessible drain.
Assuming all models are identical
Different models may have different tank designs, fittings, and service procedures. Instructions for one brewer may not apply to another.
Turning the machine upside down
Uncontrolled tipping can spill water into the housing or damage components. Change the brewer’s position only when the manual directs you to do so.
Assuming an empty carafe means an empty tank
The carafe collects brewed coffee, while the internal tank may hold a separate supply of water. Follow the designated draining instructions.
Using the brewer to force water out
Do not run heating or brewing cycles as an improvised draining method. Follow the manufacturer’s procedure for emptying and preparing the machine.
Frequently Asked Questions
Q
Do I need to drain my BUNN coffee maker before moving?
Draining is a sensible precaution before transporting a BUNN brewer because residual water can spill during movement. Disconnect the machine, let it cool, and follow the model-specific draining instructions. Secure removable parts separately and transport the brewer as directed in its manual.
Q
How long does it take to drain a BUNN coffee maker?
The time depends on the model, the amount of water remaining, and the cooling time required before draining. Allow the machine to cool safely first, then follow the manufacturer’s procedure until the accessible water has drained. Do not rush the process by opening hot components.
Q
Can I drain my BUNN coffee maker by turning it upside down?
Do not turn the brewer upside down unless the manufacturer’s instructions specifically direct you to use that position. Tilting or inverting the appliance can cause water to enter electrical areas or damage internal components. Use the designated drain method instead.
Q
Will draining prevent my BUNN coffee maker from freezing?
Draining can reduce the amount of water available to freeze, but it does not guarantee that every internal passage is empty. If the brewer will be exposed to freezing temperatures, follow the manufacturer’s winterizing procedure. When complete draining cannot be confirmed, keep the machine in a location that stays above freezing.
Q
How do I find the drain plug on my BUNN coffee maker?
Check the owner’s manual for your exact model number. Drain locations and access procedures vary, and some models may not provide a user-accessible drain plug. Do not remove random screws or covers to locate one. Contact BUNN support if the correct draining procedure is unclear.
✦ Wrapping Up
Conclusion
Draining a BUNN coffee maker before moving, long-term storage, or cold-weather preparation starts with three essentials: identify the exact model, unplug the machine, and allow it to cool. Then follow the manufacturer’s instructions for emptying the internal water system rather than relying on the carafe or top opening alone.
If the brewer has no clearly documented user-accessible drain, avoid forcing fittings, tipping the appliance, or dismantling its housing. Manufacturer guidance or qualified service is the safest way to handle a model-specific draining problem.
💡 Key Takeaway
Find your BUNN coffee maker’s model number and owner’s manual first. Confirm the approved draining procedure before opening any drain, and do not store the brewer where it could freeze unless it has been prepared for those conditions.