
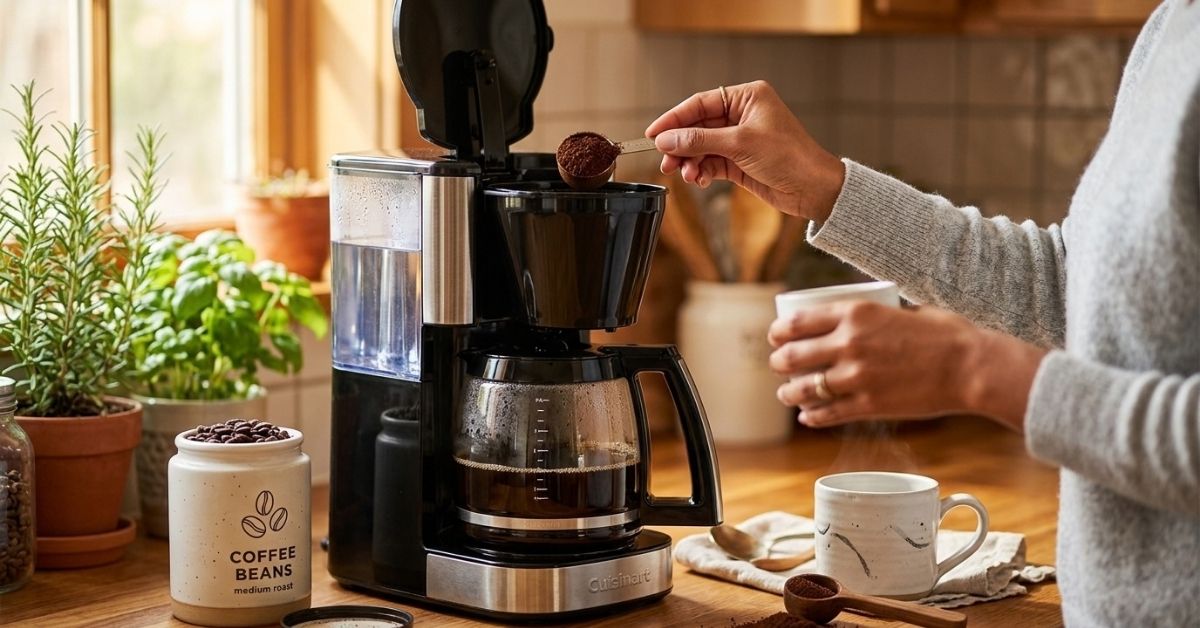
A coffee maker can save time and make your morning much easier. But if you use the wrong amount of water, add too much coffee, or forget to clean the machine, your brew may taste weak or bitter. I’ve learned that a few small steps can make a big difference in the cup.
Learning how to use coffee maker the right way is simple once you know the basics. In this guide, I’ll walk you through each step, from adding water and coffee grounds to choosing the right settings, fixing common problems, and keeping your machine clean.
How to Use Coffee Maker for the First Time
Before brewing your first cup, take a few minutes to learn how your machine works. Most drip coffee makers have a water reservoir, a filter basket, a carafe, and a brew button.
If your coffee maker is brand new, rinse the removable parts and run one cycle with plain water. This helps remove dust or odors left from storage and manufacturing.
Step 1: Place Your Coffee Maker on a Flat Surface
Set the machine on a dry, level counter near a power outlet. Keep it away from the edge and leave enough room to open the lid.
Make sure the carafe sits correctly on the warming plate. If it is out of place, coffee may drip onto the plate instead of flowing into the pot.
Step 2: Clean and Prepare the Removable Parts
Remove the carafe and filter basket, if possible. Wash them with warm water and mild dish soap, then rinse well.
Check the user manual before washing any part. The electrical base should never go into water.
Step 3: Run a Water-Only Cycle
Fill the reservoir with fresh water. Do not add coffee grounds yet.
Place the empty carafe beneath the filter basket and start a brew cycle. Once it finishes, pour out the water and let the machine cool.
| First-use task | Why it matters |
| Wash removable parts | Removes dust and residue |
| Run a water-only cycle | Flushes the water path |
| Check the carafe position | Helps prevent spills |
| Read the manual | Explains model-specific features |
You only need to do this preparation once when setting up a new machine. After that, you can make coffee as part of your daily routine.
How to Use Coffee Maker Step by Step
Making coffee with a standard drip coffee maker is easy. The key is to use the right amount of water and coffee, then let the machine complete the brewing cycle.
Step 1: Fill the Water Reservoir
Start with fresh, cold drinking water. Open the reservoir lid and pour in enough water for the number of cups you want.
Look for the water level marks inside the reservoir or on the side of the machine. These marks help you avoid adding too much or too little water.
One thing worth checking is the cup size. A coffee maker’s marked cup is often smaller than a standard 8-ounce measuring cup. Some machines use a 5-ounce or 6-ounce cup measurement.
| Water setting | Approximate volume |
| 2 coffee-maker cups | 10–12 oz |
| 4 coffee-maker cups | 20–24 oz |
| 6 coffee-maker cups | 30–36 oz |
| 8 coffee-maker cups | 40–48 oz |
These amounts vary by model, so use the markings on your machine as your main guide.
Step 2: Add a Coffee Filter
Open the filter basket and insert a paper filter or reusable filter.
Check the manual to see which filter size your machine needs. A filter that is too small may overflow, while one that is too large may fold over and interfere with brewing.
If you use a paper filter, rinse it with a little water if you notice a paper taste in your coffee. Just make sure the filter stays in place and empty any rinse water before adding the grounds.
Step 3: Measure the Coffee Grounds
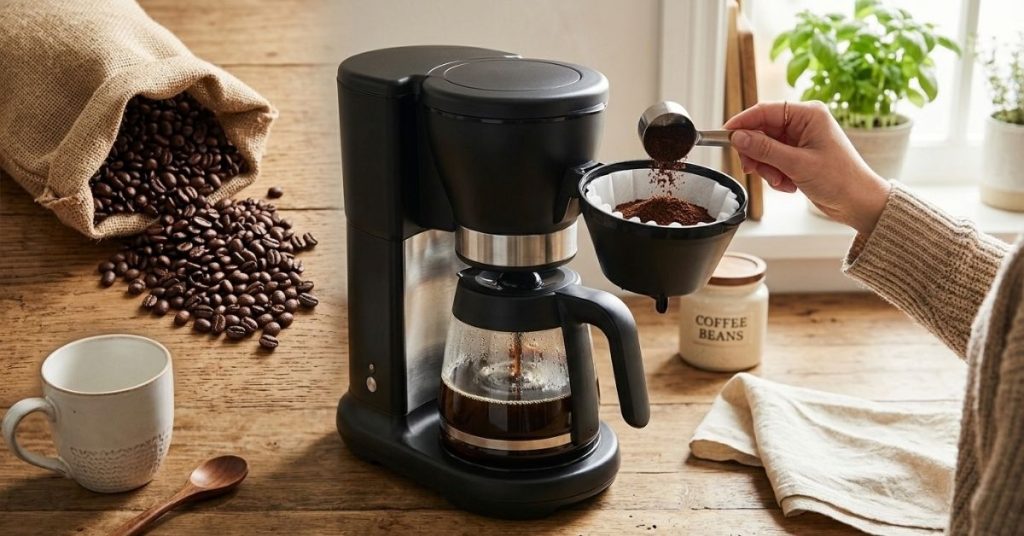
Add ground coffee to the filter. For a standard drip coffee maker, a useful starting point is 1–2 tablespoons of ground coffee per 6 ounces of water.
If you prefer a more balanced starting ratio, try about 2 tablespoons per 6 ounces. Adjust the amount after tasting your first few cups.
| Water amount | Starting amount of ground coffee |
| 6 oz | 1–2 tablespoons |
| 12 oz | 2–4 tablespoons |
| 24 oz | 4–8 tablespoons |
| 36 oz | 6–12 tablespoons |
For more consistent results, weigh your coffee with a kitchen scale. A starting ratio of about 1 gram of coffee to 15–17 grams of water works well for many drip brews.
Avoid packing the grounds tightly into the filter. Let them sit loosely so water can flow through them evenly.
Step 4: Place the Carafe and Close the Lid
Slide the empty carafe into position beneath the filter basket. Make sure the lid is closed if your machine requires it for brewing.
Some coffee makers have a pause-and-serve feature that lets you remove the carafe briefly. Still, it is best to leave the pot in place until brewing finishes to avoid drips and spills.
Step 5: Select the Settings and Start Brewing
Close the reservoir lid, plug in the machine, and press the brew button. If your model has strength settings, choose regular or bold based on your taste.
Most basic drip coffee makers handle the water temperature and brewing time automatically. You do not need to stand beside the machine or stir the coffee.
When the cycle ends, check that the water has stopped flowing before removing the carafe. Pour your coffee into a mug and enjoy it while it is fresh.
How Much Coffee Should You Use?
The right amount of coffee depends on how strong you like your drink. Using more grounds usually makes the coffee stronger, but it can also make the flavor harsh if you use too much.
Start with a simple ratio, then change one thing at a time. That makes it easier to find the flavor you enjoy.
| Coffee preference | Suggested approach |
| Mild | Use fewer grounds |
| Medium | Start with 2 tablespoons per 6 oz of water |
| Strong | Add a little more coffee |
| Smooth and balanced | Use fresh grounds and measure carefully |
Keep in mind that coffee strength and coffee extraction are not the same thing. More grounds can create a stronger drink, while grind size and water flow affect how much flavor the water draws out.
If your coffee tastes weak, try adding a little more coffee first. If it tastes bitter, check the grind size, machine cleanliness, and brewing method before adding more grounds.
Which Coffee Grounds Work Best in a Coffee Maker?
The type of coffee you use affects the taste as much as the amount. For most standard drip coffee makers, medium-ground coffee is a good choice.
Very fine grounds may slow water flow and leave a bitter taste. Very coarse grounds may produce a weak cup because water passes through them too quickly.
Choose the Right Grind Size
| Grind size | Best use |
| Fine | Espresso machines |
| Medium | Standard drip coffee makers |
| Coarse | French press |
| Extra coarse | Cold brew |
Pre-ground coffee is convenient, especially on busy mornings. Whole beans can offer fresher flavor, but you will need a grinder and a little extra time.
Use Fresh Coffee and Store It Well
Coffee loses aroma when exposed to air, heat, light, and moisture. Keep your grounds in a clean, airtight container in a cool, dry cupboard.
You do not need to refrigerate or freeze your daily coffee supply. Repeated temperature changes can cause moisture to form, which may affect the flavor.
Also, check the date on the package. Coffee can still be safe to use after it loses freshness, but it may taste flat or stale.
How to Use Different Types of Coffee Makers
Not every coffee maker works the same way. The basic idea is similar, but the steps can change depending on whether you have a drip machine, a single-serve brewer, or an espresso machine.
| Coffee maker type | How to use it |
| Drip coffee maker | Add water, a filter, and ground coffee, then start brewing |
| Single-serve pod machine | Fill the reservoir, insert a compatible pod, and select cup size |
| Espresso machine | Add water, prepare the coffee grounds, and follow the machine’s brewing steps |
| French press | Add coarse grounds and hot water, steep, then press the filter down |
| Pour-over brewer | Add grounds to a filter and slowly pour hot water over them |
If you have a programmable drip coffee maker, you can often set a brew time in advance. Add the water and grounds the night before, then make sure the timer is set correctly.
For a pod machine, use only pods or capsules approved for your model. Some machines also accept reusable pods, but these need the right size and grind.
Espresso machines require more care with grind size, coffee dose, and pressure. If you own one, follow its manual rather than applying drip coffee measurements.
Common Coffee Maker Mistakes and How to Fix Them
Even a simple coffee maker can produce disappointing results. When a cup tastes wrong, it helps to check the basics before assuming the machine is broken.
| Problem | Likely cause | What to try |
| Weak coffee | Too few grounds or coarse grind | Add a little more coffee |
| Bitter coffee | Too many grounds, fine grind, or dirty machine | Adjust the dose and clean the machine |
| Coffee tastes stale | Old grounds or leftover residue | Use fresher coffee and wash the parts |
| Grounds in the cup | Wrong filter or overflowing basket | Check the filter size and coffee amount |
| Water does not flow | Empty reservoir or mineral buildup | Check the water level and descale if needed |
| Coffee spills | Carafe is misplaced or basket is blocked | Reposition the carafe and clean the basket |
Why Does My Coffee Taste Watery?
Watery coffee often comes from using too little coffee for the amount of water. It can also happen when the grind is too coarse or the machine does not brew as expected.
Measure the grounds instead of guessing. If the coffee still tastes weak, try a slightly finer grind within the range recommended for your machine.
Why Does My Coffee Maker Overflow?
An overflowing filter basket may mean you added too much coffee, used the wrong filter, or allowed old grounds to block the flow.
Turn the machine off if it is safe to do so, let it cool, and clean the basket. Never reach into the machine while hot water is flowing.
How to Clean a Coffee Maker After Brewing
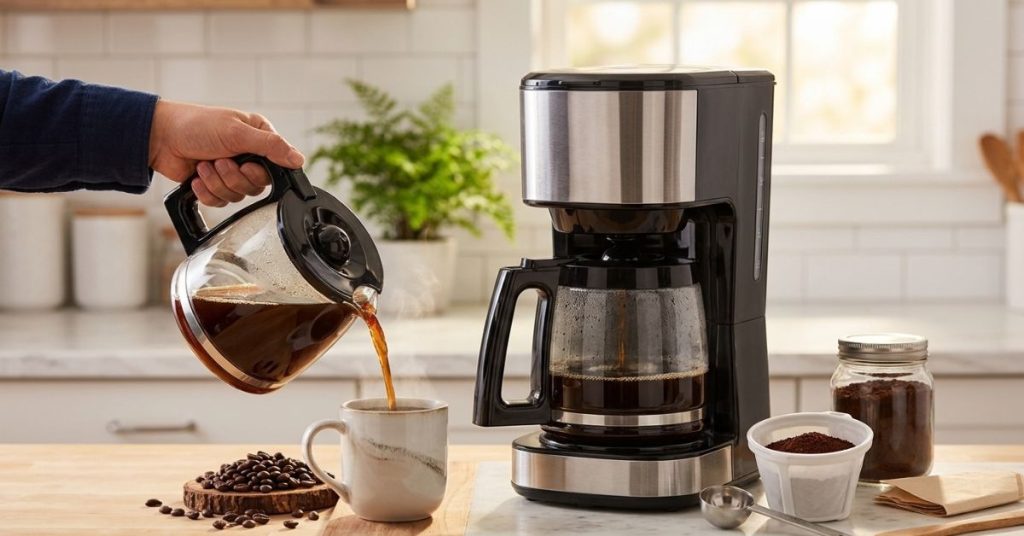
Cleaning your coffee maker is easy to forget, especially when you are rushing out the door. However, old coffee oils and wet grounds can leave unpleasant smells and affect the taste of future brews.
A quick daily cleanup takes only a few minutes.
Clean the Parts After Each Use
Once the machine has cooled, remove the used grounds and filter. Wash the carafe and filter basket with warm, soapy water, then rinse and dry them.
Wipe coffee splashes from the warming plate and outer surface with a damp cloth. Never pour water over the machine’s electrical base.
Do not leave wet grounds in the basket all day. They can develop a stale smell that carries over into your next brew.
Descale the Coffee Maker Regularly
Mineral deposits from water can build up inside the machine. This is called scale, and it can slow brewing or affect how well the machine heats water.
The best cleaning schedule depends on how often you brew and how hard your water is. Follow the manufacturer’s instructions for descaling.
| Cleaning task | Suggested frequency |
| Wash carafe and basket | After each use |
| Wipe the warming plate | As needed |
| Clean the exterior | Weekly or as needed |
| Descale the machine | As directed by the manufacturer |
Some coffee makers allow a descaling solution, while others recommend a specific cleaner. Do not assume vinegar is suitable for every model. It can damage some components or leave an odor if the machine does not support vinegar cleaning.
After descaling, run fresh-water cycles as directed by the manual to remove any remaining cleaner.
How to Make Better Coffee With the Same Machine
You do not need an expensive coffee maker to improve your daily cup. A few small habits can make a noticeable difference without adding much time to your routine.
First, use fresh water each time. Water that has been sitting in the reservoir for days may affect the taste. Empty the reservoir when you will not use the machine for a while.
Second, measure your coffee. A scoop can be useful, but tablespoon sizes and scoop capacities vary. Once you find a ratio you like, repeat it.
Third, pay attention to the warming plate. Leaving coffee on a hot plate for a long time can make it taste burnt or harsh. If you are not drinking the whole pot right away, pour the extra coffee into a preheated insulated carafe.
Finally, do not judge a new coffee by one cup alone. Try changing the coffee brand, grind, or amount one at a time. That way, you can tell what actually improves the taste.
Can You Leave Water and Coffee in the Machine Overnight?
Yes, many programmable coffee makers let you prepare the machine the night before. But there are a few things to keep in mind.
Fresh water in the reservoir is generally fine overnight if the machine’s manual allows it. For the best flavor, though, add fresh water before brewing when practical.
Dry coffee grounds can sit in the filter basket overnight. Keep the machine clean and dry on the outside, and do not leave used grounds sitting in the basket until morning.
If you use the timer, double-check the clock and start time. Some machines reset after a power outage, so a quick check can save you from waking up to an empty coffee pot.
Final Thoughts
Learning how to use coffee maker properly comes down to a few simple habits: measure the water, use the right amount of coffee, choose a suitable grind, and clean the machine often. Once these steps become routine, making a good cup takes very little effort.
My main advice is to start with the measurements in this guide and adjust them to suit your taste. You do not need fancy tools or complicated settings. A clean machine, fresh coffee, and a little attention to detail can make your daily cup much more enjoyable.
To Get More About Home, Kitchen Accessories Product You Can Visit Our Site. If You Found our Posts Helpful Leave a Comment Below