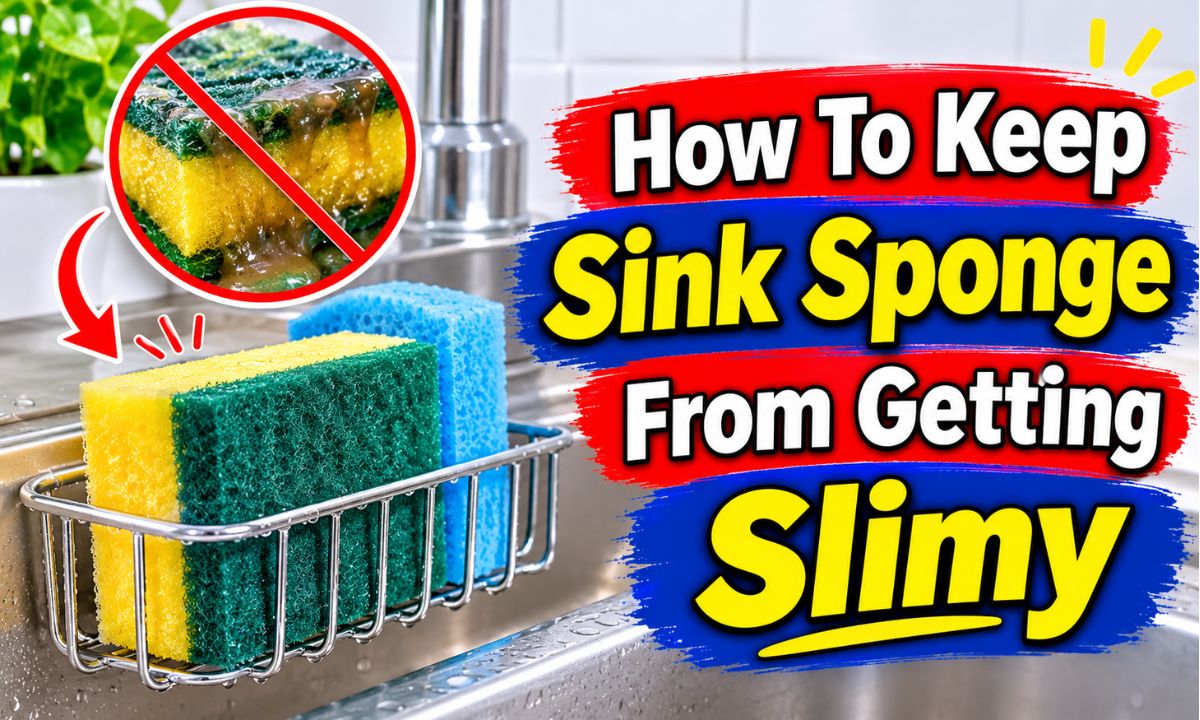
Rinse your sink sponge well, squeeze out excess water, remove food bits, and store it in an open holder where air can reach it.
A kitchen sponge can get slimy fast, especially when it sits beside a wet sink after washing dishes. In American homes, busy meal prep, dishwashing, and daily cooking can leave a sponge full of food bits, soap, grease, and water. When the sponge stays wet, it becomes a poor place to store your dish-cleaning tool.
The best way to prevent this problem is to build a simple habit after every use. Rinse the sponge under clean running water, squeeze it well, and place it in a holder that lets water drain away. Keep it off the bottom of the sink and away from standing water. These steps help the sponge dry between uses and make it less likely to develop a slimy feel or sour smell.
Drying is only one part of good sponge care. A sponge can look clean and still hold germs, so regular cleaning and timely replacement matter too. The USDA Food Safety and Inspection Service warns that microwaving or boiling may reduce some bacteria but does not ensure that a sponge will prevent cross-contamination. For this reason, use good drying habits, clean the sponge with a suitable method, and replace it often.
A sink sponge often gets slimy because it stays wet and holds small bits of dirt and food. Its many tiny holes soak up water, dish soap, grease, and food scraps. If these materials stay trapped inside, the sponge may feel slippery even after you rinse its surface.
The slimy layer may also come from a buildup of organic matter and microbes. Warm kitchen conditions and repeated contact with dirty dishes can make the problem worse. A sponge that never dries between uses gives moisture-loving microbes a place to grow.
Dish soap can help loosen grease and food, but soap alone does not sanitize a sponge. Rinsing removes loose dirt, while drying reduces the time the sponge stays wet. Regular sanitation and replacement address a different part of the problem.
Source: youtube.com
Trapped food
Small food pieces can stay inside the sponge after dishwashing. They add to the residue that makes the sponge feel dirty or slippery.
Standing water
A sponge left in a puddle or wet sink corner cannot drain well. It may stay damp for a long time.
Poor airflow
A closed box or covered dish can trap moisture around the sponge. This slows drying.
Old sponge material
A worn sponge can have tears and deep grooves that hold more dirt. It may be harder to rinse and clean well.
Is a Slimy Sponge the Same as a Moldy Sponge?
No. Sliminess and mold are not the same thing. A slimy sponge may have a slick film from trapped residue and microbial growth, while mold may show as visible spots or patches. A sponge can also hold bacteria without showing any clear sign of growth.
Do not rely on sight or smell alone to judge whether a sponge is safe. If it has a lasting sour odor, visible mold, deep stains, or a damaged surface, replace it rather than trying to rescue it.
Slimy feel
The surface feels slick, sticky, or coated even after rinsing.
Musty smell
A damp, sour, or stale odor may point to trapped moisture and residue.
Visible spots
Dark or colored patches that do not wash away are a reason to discard the sponge.
How To Keep Sink Sponge From Getting Slimy After Every Use
The most useful prevention method is a short cleaning and drying routine after each dishwashing session. You do not need special equipment for the basic steps. A clean sink, running water, and a holder with open sides are enough to improve everyday sponge care.
Follow the same order each time. First remove food, then rinse, squeeze, and store the sponge where air can move around it. This routine helps prevent residue from building up and keeps the sponge from sitting in water.
Source: onerecp.com
Step 1: Remove loose food
Pull off visible food pieces and rinse away crumbs. Do not leave bits of rice, pasta, sauce, or other food trapped in the sponge.
Step 2: Rinse with clean water
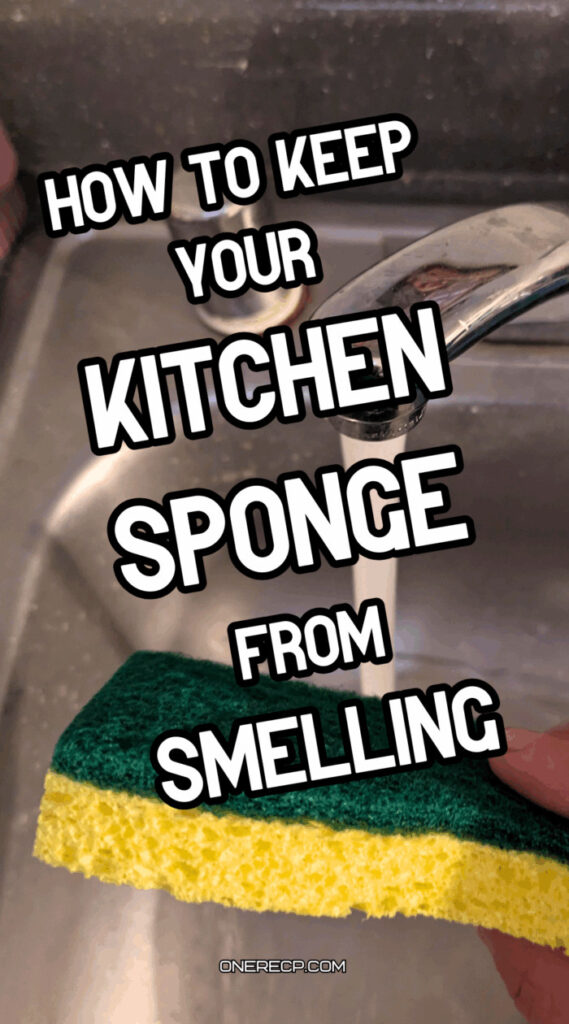
Hold the sponge under running water and press it several times. Work the water through the full sponge rather than rinsing only one side.
Step 3: Squeeze out excess water
Press the sponge firmly over the sink. Repeat until it no longer releases a steady stream of water. Avoid twisting it so hard that you tear the material.
Step 4: Clean the holder
Remove old water, food scraps, and soap residue from the sponge holder. Rinse it and let it drain.
Step 5: Store it in an open spot
Place the sponge upright or on its side in a holder with drainage holes. Keep the sponge away from puddles and the bottom of the sink.
How Do You Know the Sponge Is Dry Enough?
A sponge does not need to feel bone-dry right after you squeeze it. The goal is to remove excess water and let air reach its surfaces. A sponge that is no longer dripping and is stored in an open space has a better chance to dry between uses.
Check the holder a few hours later. If water has collected beneath the sponge, empty it and improve the drainage. If the sponge still feels soaked after a long period, move it to a more open area.
Good sign
The sponge is not dripping, and air can reach its sides and bottom.
Warning sign
The sponge rests in pooled water or remains wet inside a closed holder.
Choose a Sponge Holder That Allows Airflow
A good sponge holder should let water drain and air reach the sponge. A holder is useful only if it keeps the sponge out of standing water. A pretty soap dish with a flat base may look tidy, but it can hold moisture beneath the sponge.
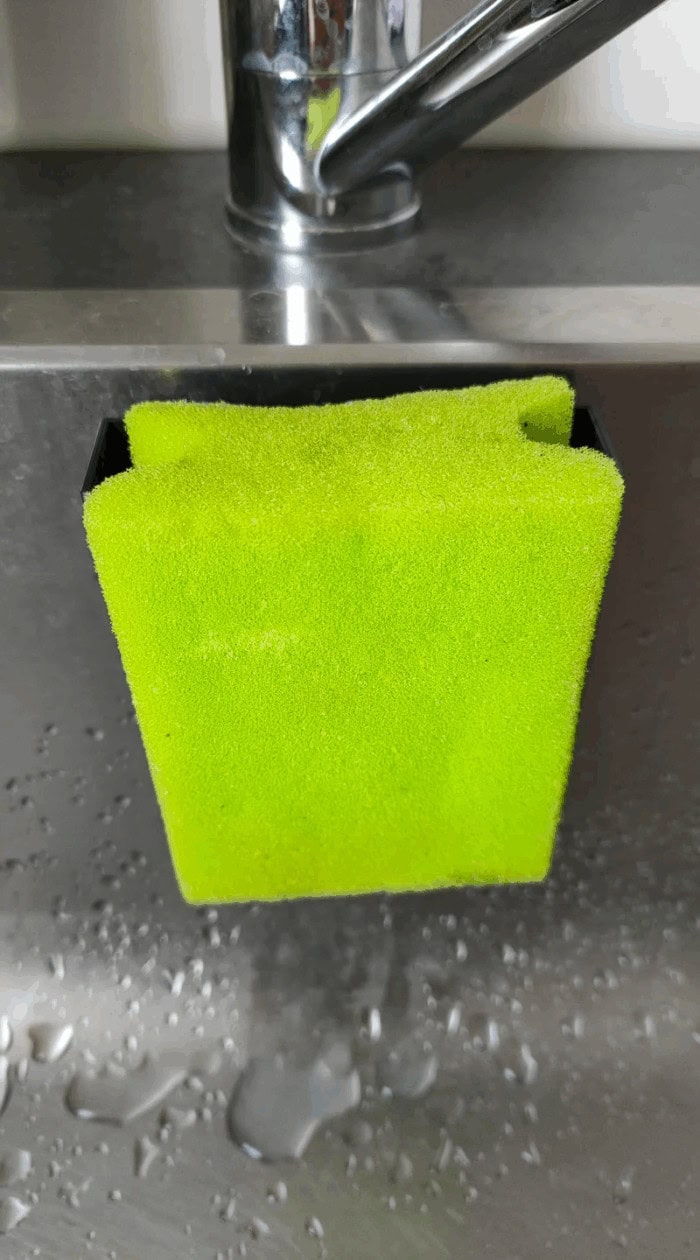
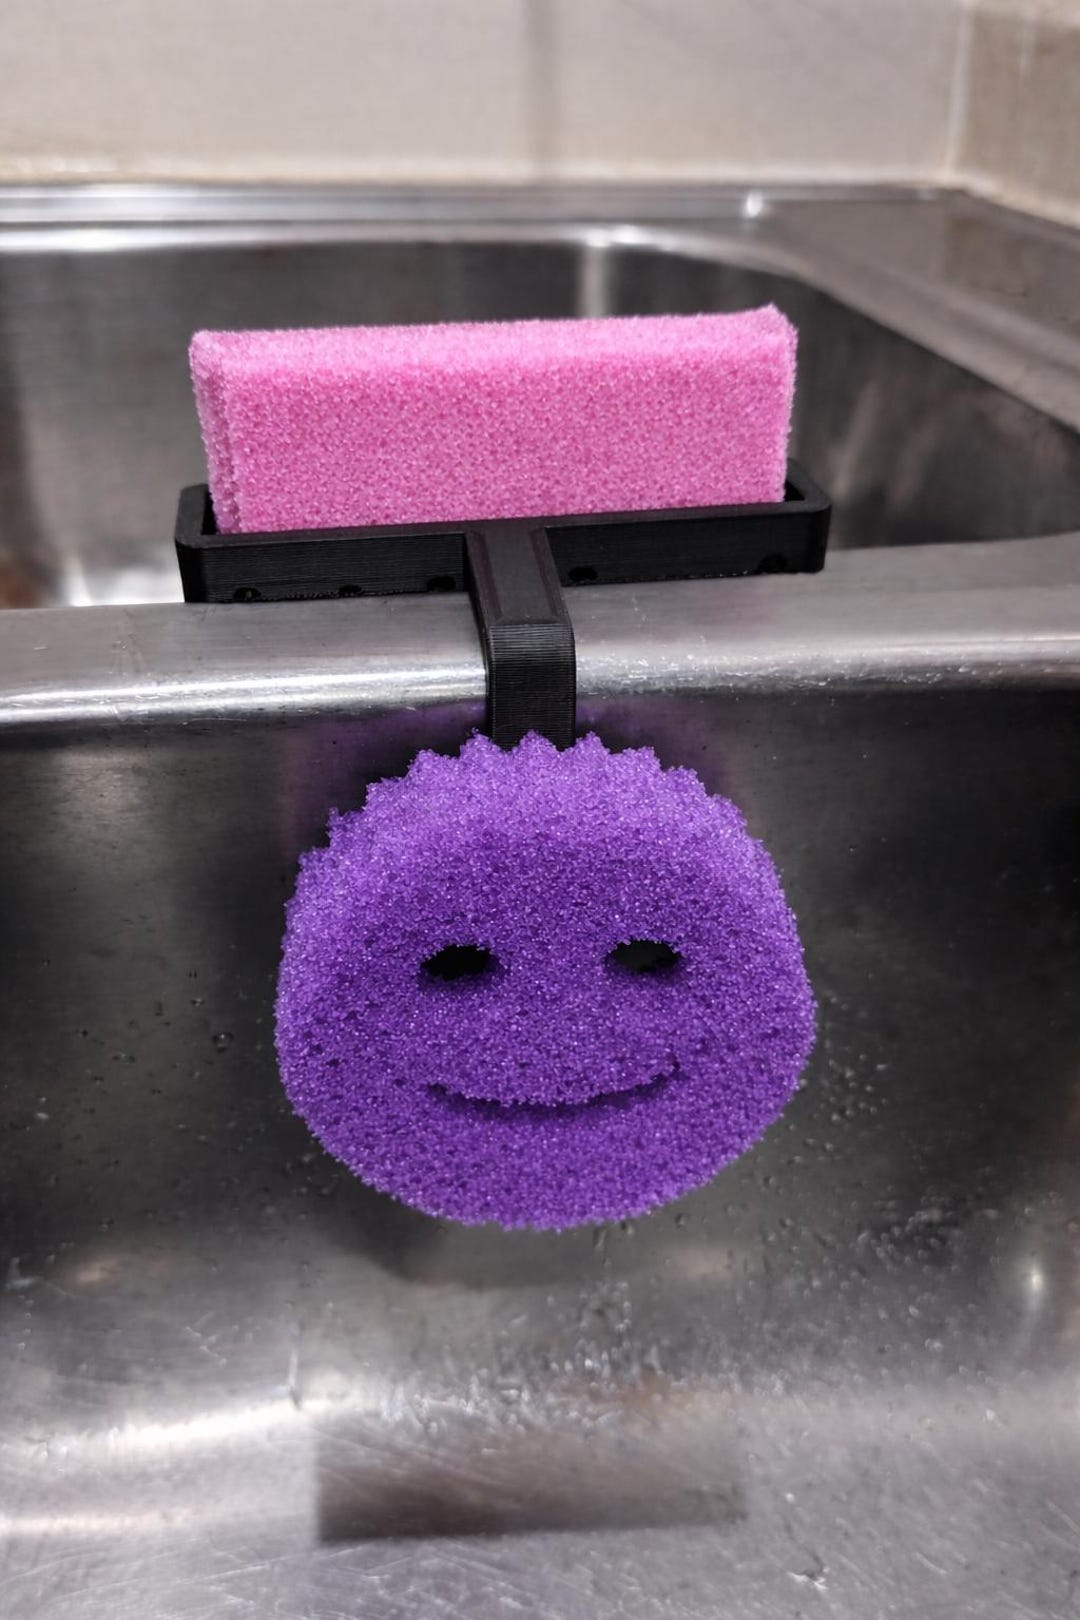
Look for an open design with drainage holes, raised supports, or a removable tray. The sponge should not sit flat against a wet sink surface. It should also be easy to wash, since the holder itself can collect grease, soap, and food debris.
Source: etsy.com
Open wire holder
An open wire design lets air move around most of the sponge. Check that the metal finish is suitable for a wet sink area and does not rust.
Drain-through plastic holder
A holder with holes can let water escape. Remove it often to wash away trapped residue.
Suction-cup holder
A suction holder can keep the sponge above the sink basin. Place it on a clean, smooth surface and check that it stays secure.
Raised sink caddy
A raised caddy can hold a sponge and brush in one place. Choose one with enough space between items for airflow.
Where Should You Put the Sponge Holder?
Put the holder near the sink but away from areas where water splashes often. A spot beside the faucet may be handy, but it should not sit under a steady drip. If the sink has a deep basin, a holder attached to the inner wall may keep the sponge above pooled water.
Avoid storing a wet sponge in a closed cabinet or sealed plastic tub. These spaces limit airflow and can keep moisture trapped. If you need to store the sponge under the sink, let it dry fully first and use a clean, open holder.
Best placement
A clean, open area near the sink with good drainage and little direct splashing.
Poor placement
A flat wet tray, a puddle at the bottom of the sink, or a sealed container.
Clean and Sanitize Your Sponge on a Regular Schedule
Rinsing and drying help reduce residue, but they do not replace sanitation. A kitchen sponge can carry microbes from dishes, hands, and food scraps. Use a suitable cleaning method on a regular schedule, and follow the instructions for the sponge material.
The American Cleaning Institute describes a bleach-soak method for traditional sponges and advises regular cleaning and replacement. University extension guidance also lists dishwasher and microwave methods, but the exact instructions differ. Choose one method that suits your sponge and follow a reliable source or the maker’s directions.
Source: netmums.com
Bleach solution
Use only regular, unscented household bleach and follow a current, reliable dilution and contact-time instruction. Rinse the sponge as directed and let it air-dry.
Dishwasher
If the sponge maker allows it, place the sponge in the dishwasher and use a suitable hot cycle with a heated dry setting. Do not assume every sponge or scrub pad is dishwasher safe.
Microwave
Only use this method if the sponge is microwave-safe and contains no metal. It must be thoroughly wet, and you should follow a reliable, specific time instruction. Let it cool before handling.
Important Safety Rules for Sponge Cleaning
Never microwave a dry sponge. It can overheat and catch fire. Do not microwave a sponge with a metallic scrub layer, metal fibers, or any metal parts.
If you use bleach, never mix it with vinegar, ammonia, toilet cleaner, or other household chemicals. Mixing bleach with other cleaners can release dangerous gases. Work in a well-ventilated area and keep the solution away from children and pets.
Do not guess at bleach strength or combine instructions from different sources. Bleach products vary, so use the label and a trusted food-safety or extension guide for the correct dilution and contact time.
Do not mix cleaners
Use one cleaning product at a time. Rinse the sponge as directed before using it again.
Check the material
Some scrub pads, cellulose sponges, and foam products have different care limits.
Handle hot sponges with care
A sponge heated in a microwave or dishwasher can cause burns. Let it cool before touching it.
Replace Old Sponges Before They Become a Hygiene Problem
A sponge is a low-cost kitchen tool, not something you need to keep until it falls apart. Replace it often, even if you rinse and sanitize it. The USDA advises frequent replacement because cleaning methods do not guarantee that a sponge will stop spreading harmful microbes.
The American Cleaning Institute suggests replacing traditional sponges every one to two weeks, with use and condition affecting the timing. Treat that as a practical guide rather than a guarantee that a sponge stays safe for that whole period. Heavy use, raw food contact, poor drying, or damage may mean you need to discard it sooner.
Source: onerecp.com
Persistent odor
Throw the sponge away if a sour or musty smell remains after cleaning.
Slimy surface
Replace it if the slick feel returns quickly or does not improve after proper rinsing and cleaning.
Tears and loose pieces
A sponge that is breaking apart is harder to clean and may leave bits on dishes.
Permanent stains or discoloration
Discard a sponge with deep, stubborn stains or signs of mold.
Should You Keep a Sponge That Looks Clean?
Not necessarily. A sponge can look normal while still holding bacteria. Appearance is not a reliable test of cleanliness, so use a regular replacement routine instead of waiting for visible mold or a bad smell.
If you use a sponge every day, write the replacement date on a small note near your sink or add a reminder to your calendar. This simple step makes it easier to avoid keeping the same sponge for too long.
Use a date reminder
Mark the day you start a new sponge and review its condition often.
Keep spare sponges
Store unused sponges in a clean, dry place so you can replace an old one without delay.
Avoid Using Your Dish Sponge for Every Kitchen Mess
One sponge should not handle every cleaning job in the kitchen. A sponge used on dirty dishes can pick up food residue and then spread it to counters, handles, and other surfaces. Separate cleaning tools help limit this transfer.
Pay special attention to raw meat and poultry juices. Use a paper towel or another suitable disposable method to pick up these spills, then clean and sanitize the affected surface according to its care instructions. Do not use your dish sponge for this job.
Source: kitchenwyse.com
Dishes and cookware
Use a dish sponge for washing plates, cups, and cookware, then rinse and dry it after use.
Countertops
Use a clean dishcloth or a suitable disposable wipe instead of the sponge used for dishes.
Raw meat spills
Use paper towels to absorb the spill. Dispose of them, then clean and sanitize the surface.
Sink and drain area
Use a separate brush or cloth for the sink and drain area. Clean that tool after use.
Would a Dish Brush Be Better Than a Sponge?
A dish brush may be easier to keep dry because its bristles allow air to move between them. It also has less absorbent material than many traditional sponges. This can make a brush a useful choice if your sponge gets slimy often.
A brush still needs care. Rinse away food, clean the bristles and handle, and store it upright or in a holder where water can drain. Replace it if the bristles become damaged or the handle develops buildup.
Choose a brush
Consider one if you want a tool that drains and dries more easily than a thick sponge.
Keep a cloth nearby
A washable dishcloth can work for some jobs, but it needs frequent laundering and complete drying.
How to Fix a Sponge That Is Already Slimy
If your sponge already feels slimy, first decide whether it is worth keeping. A sponge with a lasting odor, mold, deep stains, tears, or a surface that stays slick should go in the trash. Cleaning is not a reliable way to restore a badly worn sponge.
If the sponge is fairly new and has no lasting odor or visible damage, remove loose food and rinse it well. Then use one suitable sanitation method approved for its material. Afterward, squeeze out excess water and let it dry in an open holder.
Do not keep repeating cleaning treatments in the hope of saving a sponge that quickly turns slimy again. A new sponge may be the safer and simpler choice. Also clean the holder and the sink area, since residue there can make a fresh sponge dirty again.
Source: onerecp.com
Check its condition
Look for tears, deep stains, mold, and a smell that does not go away.
Remove loose debris
Rinse the sponge under running water and work out trapped food bits.
Sanitize if suitable
Use one approved method that matches the sponge material and its care label.
Dry and monitor
Store it in an open draining holder. If the slimy feel or odor returns, discard it.
What If a New Sponge Gets Slimy Within a Few Days?
Check where you store it first. A sponge placed in a flat tray, under a dripping faucet, or inside a closed container may stay wet for too long. Move it to a raised holder with open sides and drainage.
Next, look at how you use it. If you use one sponge for dishes, counters, food spills, and the sink drain, it collects more kinds of residue. Set aside separate tools for these tasks and keep the dish sponge for washing dishes.
If the problem continues, consider switching to a dish brush or a washable cloth. A tool that dries more easily may fit your routine better.
Check the holder
Make sure water drains away and the sponge does not sit in a puddle.
Check the sink
Clean soap film, food scraps, and residue from the area where the sponge rests.
Check the cleaning routine
Rinse after every use, remove food, squeeze out water, and sanitize on a regular schedule.
Common Sponge Care Mistakes to Avoid
A few common habits can undo the work you put into cleaning your sponge. Most problems come from trapped moisture, poor storage, or using one sponge for too many jobs. Fixing these habits is often easier than buying a special cleaning product.
Keep your routine simple and repeatable. A quick rinse and proper storage after every use matter more than a complicated cleaning ritual that you forget to do.
Source: onerecp.com
Leaving the sponge in the sink
The sink may hold dirty water and food scraps. Use a separate holder that keeps the sponge above pooled water.
Storing it in a closed container while wet
A sealed space can trap moisture. Let the sponge dry in open air before putting it away.
Using only hot tap water
A hot rinse can help remove grease, but it does not replace proper sanitation or regular replacement.
Adding vinegar to solve every problem
Vinegar is not a dependable substitute for an approved sponge sanitation method. Do not mix it with bleach.
Keeping a sponge because it looks fine
A clean appearance does not prove that a sponge is free of harmful microbes. Replace it regularly.
Using the sponge on raw meat juices
This can spread harmful germs to other kitchen surfaces. Use a disposable towel and sanitize the affected area.
Does Dish Soap Stop a Sponge From Getting Slimy?
Dish soap helps remove grease and food from dishes and can loosen residue inside a sponge. However, it does not make the sponge germ-free. A sponge still needs a thorough rinse, proper drying, regular sanitation, and replacement.
Do not leave a thick layer of dish soap inside the sponge. Rinse until the water runs clear and the sponge no longer releases visible suds. Then squeeze it and place it in its holder.
Use soap for cleaning
It helps lift grease and food residue from the sponge.
Use a separate sanitation step
Follow a suitable approved method instead of treating dish soap as a disinfectant.
A Simple Daily and Weekly Sponge Care Routine
A small routine makes sponge care easier to maintain. The daily steps focus on removing residue and moisture, while the weekly check helps you spot wear and clean the holder. Set a regular reminder so the sponge does not stay in use longer than it should.
The schedule below is a practical starting point. Adjust it based on how often you cook, the type of sponge, the care instructions, and whether the sponge becomes dirty or damaged sooner.
Source: netmums.com
After each use
Remove food bits, rinse thoroughly, squeeze out excess water, and place the sponge in an open holder.
Regularly
Sanitize the sponge using one suitable method and clean the holder. Follow the method’s instructions and the sponge maker’s care guidance.
At least weekly
Check for odor, slime, stains, tears, and trapped residue. Clean the sink caddy and let it dry.
Every one to two weeks as a starting guide
Replace a traditional sponge on a regular schedule, or sooner if it becomes worn, slimy, discolored, or smelly.
A Quick Sponge Care Checklist
Use this short checklist when you finish washing dishes. It helps you catch the habits that matter most without adding much time to kitchen cleanup.
Rinse
Wash out loose food and soap.
Squeeze
Remove as much extra water as possible.
Drain
Keep the sponge off wet sink surfaces.
Dry
Allow air to reach the sponge on all sides.
Replace
Discard old, damaged, smelly, or persistently slimy sponges.
Frequently Asked Questions
Q
Why does my kitchen sponge get slimy overnight?
A sponge can stay wet overnight if it rests in a sink puddle, a flat tray, or a closed holder. Trapped food and soap residue can add to the slick feel. Rinse it well, squeeze out extra water, and store it in an open holder with drainage.
Q
Can I use vinegar to clean a slimy sponge?
Vinegar is not a dependable substitute for an approved sponge sanitation method. It may help with some household cleaning tasks, but do not rely on it to make a kitchen sponge safe. Never mix vinegar with bleach or use both products together.
Q
How often should I replace my kitchen sponge?
A practical starting point for a traditional sponge is every one to two weeks, depending on how often you use it and how well you care for it. Replace it sooner if it smells bad, stays slimy, has deep stains, or starts to fall apart. Regular sanitation does not remove the need for replacement.
Q
Is it safe to put a kitchen sponge in the microwave?
Only if the sponge is microwave-safe and has no metal parts. It must be thoroughly wet before heating, and you should follow a reliable method with a specific time instruction. Never microwave a dry sponge or a metallic scrub sponge, and let a heated sponge cool before handling it.
Q
Does a sponge holder prevent sliminess?
A suitable holder can help by allowing water to drain and air to reach the sponge. It will not keep the sponge clean on its own. You still need to rinse, squeeze, sanitize, and replace the sponge as needed.
Q
Is a dish brush more hygienic than a kitchen sponge?
A dish brush may dry faster because its bristles allow more airflow than a thick sponge. This can make it easier to maintain between uses. However, brushes also collect food and need regular cleaning, proper storage, and replacement when worn.
Q
Should I throw away a sponge that smells sour?
Yes. If a sour or musty smell remains after cleaning, replace the sponge. A lasting odor can signal that residue and microbes have built up inside the material. Do not use a bad-smelling sponge on dishes or kitchen surfaces.
✦ Wrapping Up
Conclusion
Keeping a sink sponge from getting slimy starts with a few simple habits. Rinse it well after washing dishes, remove trapped food, squeeze out extra water, and store it in an open holder that drains. Avoid leaving it in the sink or inside a closed, damp container.
Remember that drying and sanitation do different jobs. Drying helps limit the time the sponge stays wet, while a suitable sanitation method can reduce some microbes. Neither step makes an old or damaged sponge safe forever, so replace it often and discard it sooner if it smells, stains, or stays slimy.
If your sponge keeps getting slick even after you improve your routine, check the holder and sink for trapped residue. You can also switch to a dish brush or washable cloth if it fits your kitchen habits better. The goal is a clean tool that dries well and does not spread mess from one surface to another.
💡 Key Takeaway
After your next dishwashing session, rinse the sponge, squeeze it firmly, clean its holder, and leave it in an open spot where water can drain and air can circulate.