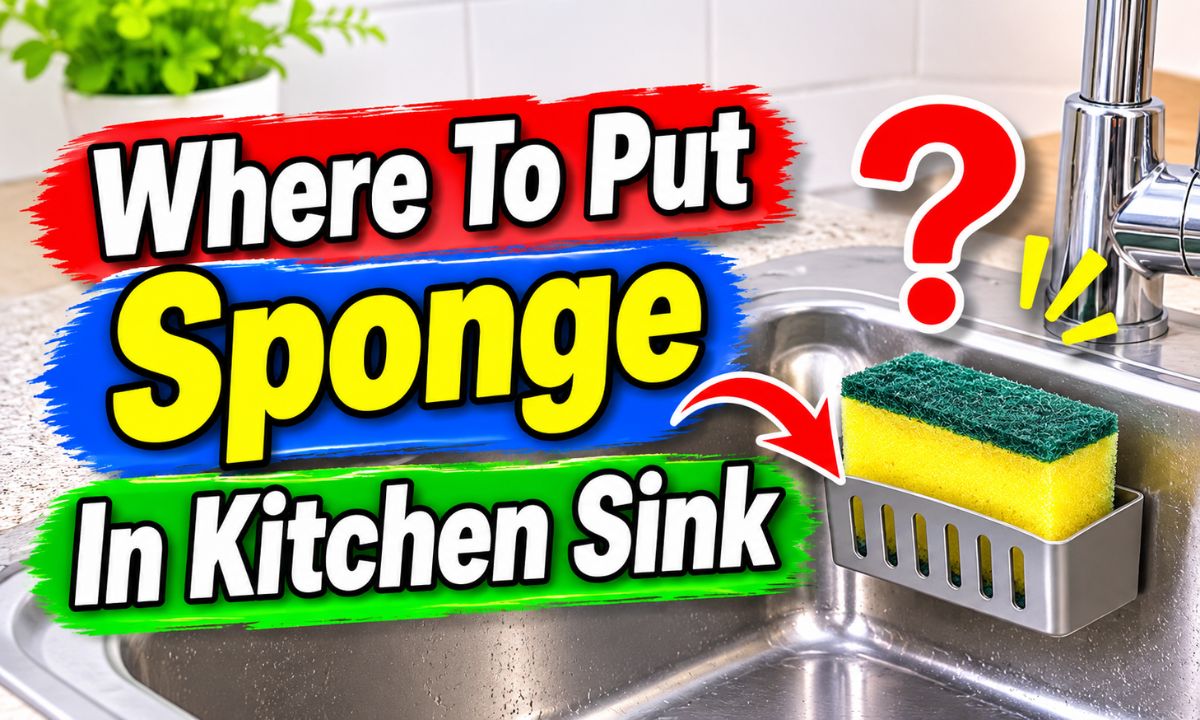
Put your kitchen sponge in an open, well-drained holder near the sink, where air can reach it and excess water can drain away.
In American homes, the kitchen sink is one of the busiest spots in the house. It handles dirty dishes, breakfast cups, lunch containers, and pots after dinner. A kitchen sponge is often used several times a day, so it needs a handy storage spot. However, leaving it in a wet sink or on the counter can create a messy and damp area.
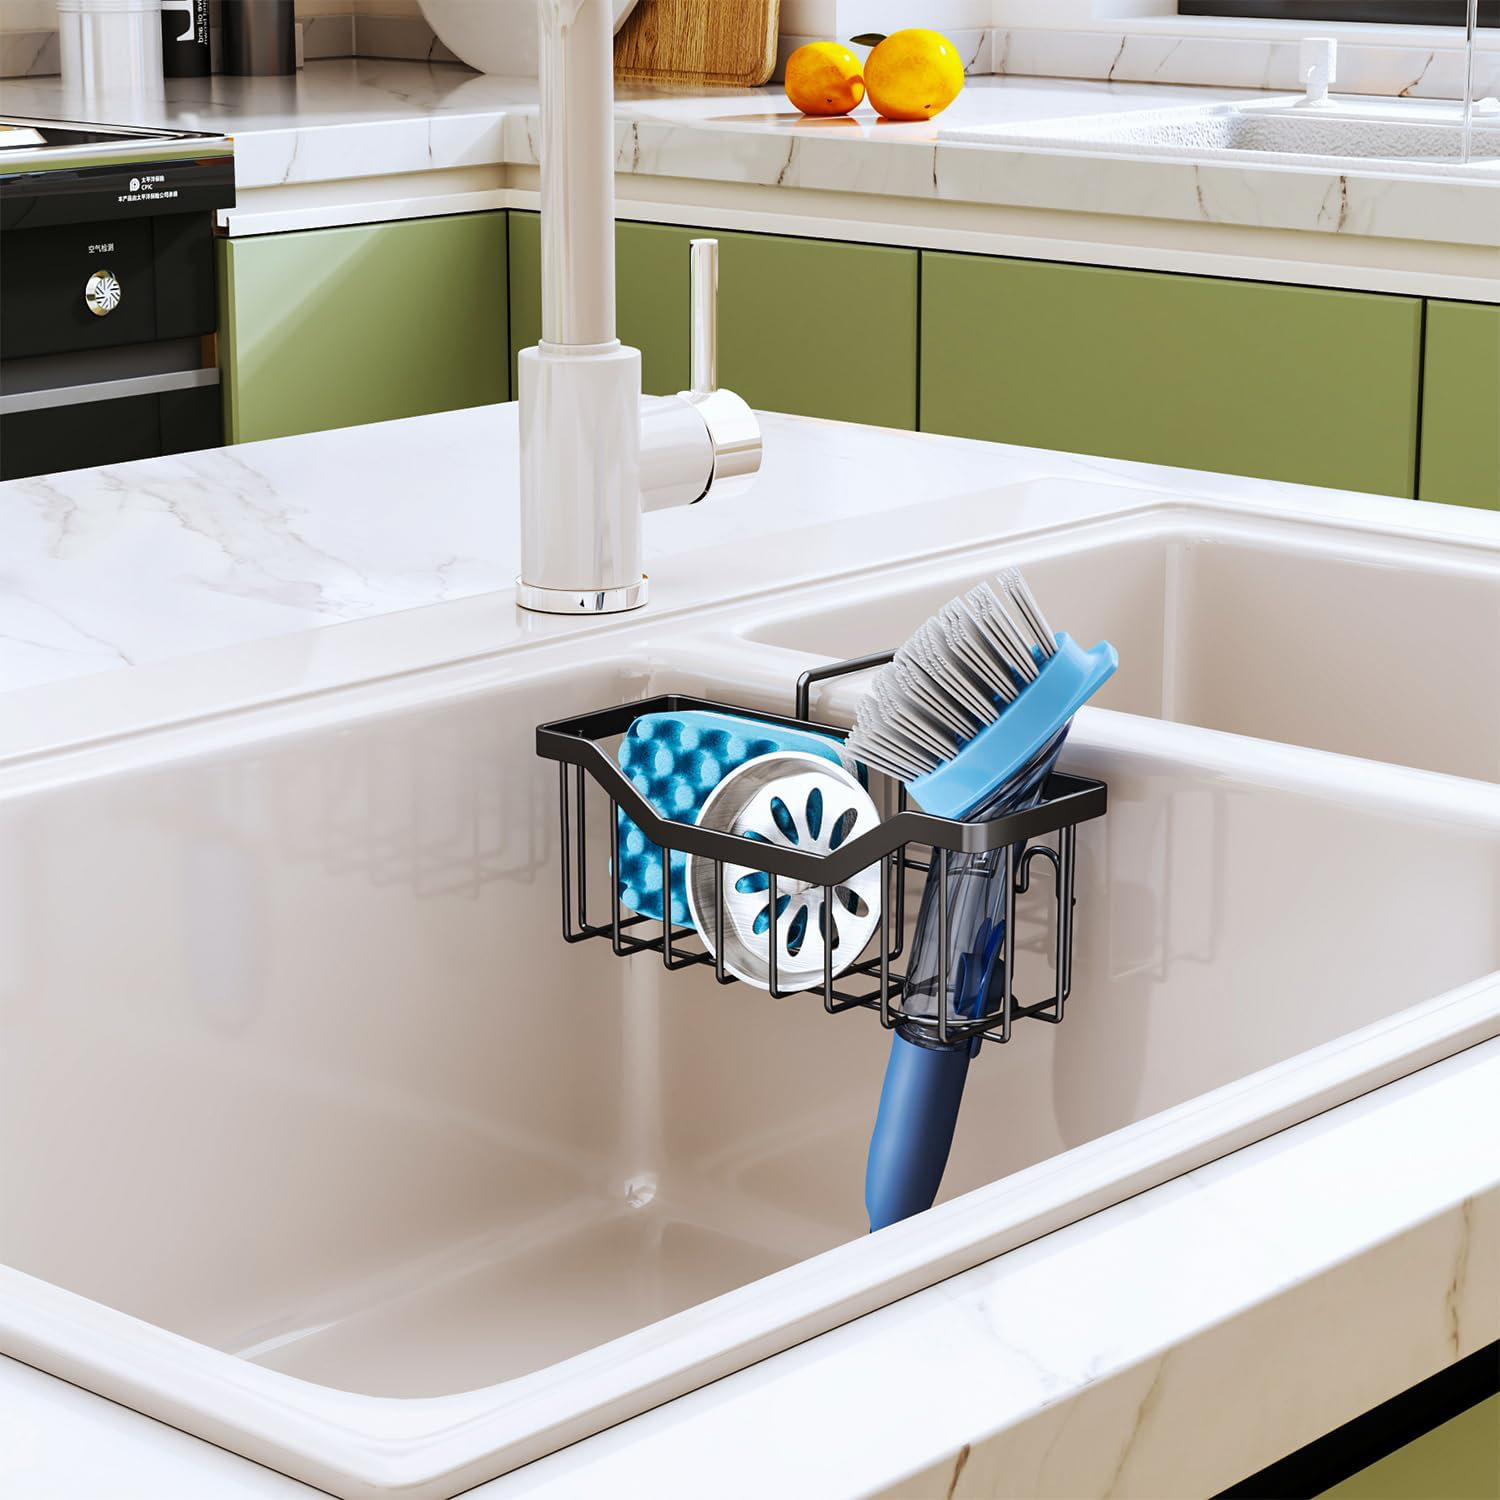
The best place for a kitchen sponge is an open sink caddy attached to the side of the basin or mounted near the faucet. This keeps the sponge within reach without letting it sit in dirty water. A holder with drainage holes and open sides also allows air to move around the sponge. If you do not have a holder, a clean, raised soap dish or an open drying rack can work.
Good storage is about more than keeping the sink neat. Sponges hold water and food bits after washing dishes. If they stay damp for long periods, microorganisms can survive and multiply. A simple storage routine can help the sponge dry between uses, reduce odors, and keep your sink area easier to clean.
Where Is the Best Place to Put a Sponge in the Kitchen Sink?
The best spot is an open sponge holder attached to the inside wall of the sink or placed beside the faucet. Choose a location where water can drain into the basin and air can reach every side of the sponge. The sponge should not rest in a puddle or touch the drain.
A good holder keeps the sponge off the sink floor. It also gives you one set place to return it after washing dishes. This small change can prevent the sponge from sliding around or getting mixed in with food scraps.
Try to keep the holder away from the main stream of water. A sponge that gets wet every time someone turns on the faucet may take longer to dry. A spot near the sink wall, but outside the direct water flow, is often more useful.
Source: d2z9zpiifwwiim.cloudfront.net
Choose an elevated spot
The sponge should sit above the bottom of the sink or on a raised rack. This helps prevent it from resting in leftover water.
Allow open airflow
Pick a holder with open sides or gaps. Air needs to reach the sponge so it can dry more easily.
Keep it within reach
Place the holder near the faucet or dishwashing area. You should be able to grab and return the sponge without reaching across dirty dishes.
Keep it away from food waste
Do not place the sponge beside the drain, garbage disposal opening, or a pile of food scraps.
Should You Put a Sponge Inside or Outside the Sink?
Both options can work if the sponge stays clean and dries between uses. An inside-sink holder saves counter space and lets water drip back into the basin. However, it must sit high enough to avoid pooled water and food debris.
An outside-sink holder can work well when it sits on a clean, dry surface. Choose a raised rack or a soap dish that does not collect water. If the counter stays wet after dishwashing, move the holder to a drier spot.
Inside the sink
Best for a secure, raised caddy with drainage holes and enough space around the sponge.
Beside the sink
Useful when the counter is dry and the holder has a design that lets water drain away.
Best Places to Store a Kitchen Sponge
Several storage options can keep a sponge close to the sink without leaving it in standing water. The right choice depends on your sink shape, counter space, faucet design, and daily cleaning habits.
You do not need a large organizer or a costly kitchen accessory. A simple holder can do the job if it supports the sponge and allows water to drain. The main goal is to keep the sponge off wet surfaces and give it room to dry.
Source: m.media-amazon.com
Inside-sink sponge caddy
This is a practical choice for many kitchens. Suction cups or adjustable brackets can hold the caddy against the sink wall. Look for open sides, drainage slots, and enough room for your sponge to stand or rest without being squeezed.
Faucet-mounted holder
A faucet-mounted rack keeps the sponge close to the water source. It can save space on a crowded counter. Make sure it does not block the faucet handle, spray hose, or normal sink use.
Wall-mounted sponge holder
An adhesive or screw-mounted holder near the sink can keep the sponge away from standing water. Check that the wall material supports the mounting method and that the holder is easy to remove for cleaning.
Open dish rack
A clean section of a dish rack can hold a sponge between uses. Choose an area where the sponge does not touch clean plates, utensils, or other items that are ready to use.
Raised soap dish
A soap dish with a sloped base or drainage gaps can be a simple alternative to a sink caddy. Empty and wash it often so old water and soap residue do not collect beneath the sponge.
Which Sponge Holder Is Best for a Small Kitchen?
A compact suction-cup caddy or a slim faucet-mounted rack is often useful in a small kitchen. These options use space that may otherwise go unused. They also keep the sponge away from the main counter work area.
Before buying a holder, measure the space around your faucet and sink wall. Check the depth of the basin and the shape of its surface. Some suction cups do not grip well on textured, curved, or uneven surfaces.
For a very small sink, choose a holder that holds only the tools you use each day. A large organizer can make dishwashing harder by taking up room that you need for pots and plates.
Best space saver
A narrow sink-wall caddy that fits above the water line.
Best for renters
A removable suction or adhesive holder that does not require drilling, provided the surface supports it.
Best for simple setups
A small raised dish with a drain channel that can be washed by hand.
Where Not to Put Your Kitchen Sponge
Some places look convenient but are poor choices for wet sponge storage. A sponge needs to drain and dry, so avoid spots that trap water or expose it to food waste. Keeping it away from these areas also makes the sink easier to clean.
A sponge can look clean while still holding moisture and tiny food particles. That is why its storage location matters. Do not judge a spot only by how neat it looks; check whether the sponge can dry there.
Source: assets.wfcdn.com
At the bottom of the sink
The sink basin often holds water, soap, and food residue. A sponge left there can stay wet and pick up more debris.
Beside the drain
Food particles and dirty water often collect near the drain. Keep the sponge away from this area, especially when washing dishes.
On a wet countertop
A flat sponge on a wet counter has little airflow underneath it. It may stay damp for longer than one kept in a raised holder.
Inside a closed container
A sealed box or covered cup can trap moisture. Do not place a wet sponge in an enclosed container after use.
Under the sink while wet
A closed cabinet is not a good place for a damp sponge. Store it there only after it is completely dry, if you need to keep a spare sponge.
On top of dirty dishes
A sponge can collect food residue from dirty plates and bowls. Give it a separate storage spot.
Is It Okay to Leave a Sponge in the Sink Overnight?
It is better not to leave a wet sponge loose in the sink overnight. Water can collect around it, and the sink may contain food residue from the day’s meals. Instead, rinse the sponge, squeeze out excess water, and place it in an open holder.
A 2022 study published in the Journal of Applied Microbiology examined used kitchen sponges and dishwashing brushes. The researchers found that brushes generally had lower bacterial levels than sponges, and drying helped reduce Salmonella on brushes. The study also found that drying did not produce the same reduction in sponges under the tested conditions.
This does not mean that every sponge will cause illness. It does show why leaving a sponge wet in the sink is not a good storage habit. A dry, separate storage area is a better choice.
Before bedtime
Rinse the sponge, remove loose debris, squeeze out water, and place it in an open holder.
After heavy dishwashing
Check the holder for pooled water and remove any food scraps from the sink.
How to Store a Kitchen Sponge Properly After Each Use
A good storage routine takes only a few moments after washing dishes. The key is to remove food residue and extra water before putting the sponge away. Then place it in a holder where air can move around it.
A holder cannot make a dirty sponge clean by itself. It only provides a better place for storage. You still need to wash, sanitize when appropriate, and replace the sponge as part of regular kitchen care.
Source: m.media-amazon.com
Step 1: Rinse Away Food and Soap
Hold the sponge under running water and rinse out visible food particles. Open the sponge with your fingers if food is stuck inside its pores. Use dish soap when needed to remove grease and leftover residue.
Do not use a sponge that has touched raw meat or poultry juices to clean other kitchen items. Use a disposable paper towel or another suitable single-use material for those spills. This helps reduce the risk of spreading harmful germs.
Remove loose debris
Check both sides of the sponge and remove food pieces before storage.
Rinse well
Wash away soap and loose residue so they do not remain trapped in the sponge.
Step 2: Squeeze Out Excess Water
Press the sponge firmly between your hands to remove as much water as you can. Do not twist it so hard that you tear the material or separate its scrub pad. The aim is to remove extra water while keeping the sponge in good shape.
A sponge that drips heavily can leave a puddle in its holder. Removing excess water helps the storage area stay cleaner.
Use gentle pressure
Press the sponge until it stops dripping heavily.
Check the scrub side
Make sure food is not stuck between the scrub layer and the soft sponge.
Step 3: Place It in an Open Holder
Set the sponge in the holder with enough space around it for air to move. Do not pack it tightly against a second sponge or a dishcloth. If the holder has a draining base, check that water can flow through it.
If the holder is inside the sink, make sure it sits above the water line. It should not become submerged when you rinse a large pot or fill the basin.
Use the holder correctly
Place the sponge where its surfaces are exposed rather than pressed against a solid wall.
Keep the drain clear
Make sure water can leave the holder without blocking the sink drain.
Step 4: Check the Sponge Before Using It Again
Look at the sponge before your next dishwashing session. Check for a bad smell, dark buildup, tears, or pieces that are coming loose. If it smells bad or has started to break apart, replace it rather than trying to hide the problem with a fresh rinse.
A sponge that looks clean is not necessarily free of harmful microorganisms. Regular cleaning and replacement still matter, even when the storage area is well designed.
Good sign
The sponge has no bad odor, visible food debris, or signs of damage.
Warning sign
The sponge has a sour smell, slimy feel, tears, or a loose scrub layer.
How to Choose the Right Kitchen Sponge Holder
The best sponge holder is one that fits your sink, drains water, and is easy to wash. A holder with a stylish design may look good, but it will not help much if water collects under the sponge. Focus on useful features before color or appearance.
Materials also matter. Stainless steel, plastic, and silicone holders can all work. The important points are their construction, ease of cleaning, resistance to corrosion, and ability to stay in place.
Source: m.media-amazon.com
Drainage holes
Openings at the bottom let water leave the holder. Check that the holes are not so small that food bits block them easily.
Open sides
An open design gives the sponge more exposure to air. Avoid holders that wrap around the sponge like a closed box.
Secure attachment
A holder should stay in place when you reach for the sponge. Check the suction cups, adhesive, hook, or mounting bracket before use.
Easy cleaning
Choose a holder with few tight corners and removable parts. This makes it easier to wash away soap, grease, and food residue.
Suitable size
The holder should fit your sponge without squeezing it. A little open space around the sponge helps with airflow.
Sink compatibility
Check whether the holder works with your sink material, faucet shape, and available mounting surface.
Stainless Steel, Plastic, or Silicone: Which Is Better?
Stainless steel can be a good option when you want a firm, open holder. Look for a well-made design that resists rust and has smooth edges. The quality of the finish and the way the holder is assembled matter.
Plastic holders are often light and easy to move. They can be useful for renters or people who want a low-cost setup. However, check for cracks, worn suction cups, and narrow areas that may collect grime.
Silicone holders are flexible and can be easy to wash. Some models attach with suction, while others sit on the counter. Choose one with a shape that allows water to drain rather than pool around the sponge.
Stainless steel
Useful for a firm, open design. Clean it regularly and inspect the finish for rust or damage.
Plastic
Lightweight and often easy to reposition. Replace it if it cracks or becomes difficult to clean.
Silicone
Flexible and easy to handle. Choose a model with drainage openings and a stable base.
How Often Should You Clean the Sponge Holder?
Wash the holder regularly, especially if it collects soap, food bits, or standing water. A simple cleaning routine is to remove the sponge, wash the holder with warm water and dish soap, rinse it, and let it dry before putting it back.
Check the holder more often if several people use the sink or if food debris collects in the basin. A dirty holder can transfer residue back to a sponge that you have just rinsed.
Daily check
Remove visible food scraps and empty any standing water.
Regular wash
Wash the holder with warm, soapy water and rinse it well. Follow the care instructions for its material.
Inspect the attachment
Check suction cups, adhesive, and joints for dirt, wear, or a loose fit.
Kitchen Sponge Storage Problems and Easy Fixes
If your sponge still smells or stays wet after you move it to a holder, look at the whole storage setup. The holder may be blocked, the sponge may be too tightly packed, or the sink area may not have enough airflow. Fixing the cause is more useful than adding another storage accessory.
The following table connects common problems with likely causes and practical steps. These are general troubleshooting suggestions, not a guarantee that a sponge can be made safe to reuse.
Source: m.media-amazon.com
Problem: The sponge smells bad
Possible causes include trapped food, long periods of damp storage, or an old sponge. Replace a sponge that smells unpleasant and clean its holder before adding a new one.
Problem: Water collects below the sponge
The holder may have blocked drainage holes or may sit too low. Clear the openings and raise or reposition the holder.
Problem: The sponge falls into the sink
The suction cups may not suit the sink surface. Try another mounting style or use a stable raised dish beside the sink.
Problem: The holder becomes slimy
Soap, grease, and food residue may be collecting in its corners. Remove the sponge and wash the holder thoroughly.
Problem: The sponge stays wet
The holder may have closed sides or the sponge may be pressed against another object. Use a more open design and leave space around the sponge.
What If Your Sink Has No Room for a Sponge Holder?
You can still store a sponge well without attaching anything to the sink. Use a small raised soap dish or an open rack on a clean, dry section of counter. The base should allow water to drain away rather than hold it under the sponge.
Another option is a compact holder mounted on a nearby backsplash, if the surface and mounting method are suitable. Keep it close enough for easy use, but away from places where cooking splashes or food preparation could contaminate it.
If there is no suitable storage spot, consider switching to a dish brush with a handle. Brushes can be rinsed more easily and often dry faster than sponges. Research published in 2022 found lower bacterial levels in the used brushes studied compared with the sponges.
Use a small drying dish
Choose one with raised ridges or a draining base and wash it often.
Use a nearby wall holder
Make sure it is secure, easy to clean, and does not interfere with kitchen tasks.
Try a dish brush
A brush may be a useful alternative if your sink has very limited storage space.
Kitchen Sponge Hygiene: Storage Is Only One Part of the Routine
A good holder helps with drying, but it does not sanitize a sponge. Kitchen sponges can trap moisture and food particles in their small openings. This makes them harder to clean than many other dishwashing tools.
The U.S. Department of Agriculture’s Food Safety and Inspection Service explains that microwaving or boiling may reduce the bacterial load in kitchen sponges, but these methods alone do not ensure that a sponge will prevent cross-contamination. The agency also advises replacing sponges frequently.
The Academy of Nutrition and Dietetics recommends regular sponge cleaning and replacement every one to two weeks. It also advises throwing away a sponge as soon as it develops an odor. Follow the instructions for your particular sponge before using a cleaning or sanitizing method.
Source: m.media-amazon.com
Rinse after use
Remove loose food and soap residue before placing the sponge in its holder.
Let it dry
Use an open holder and avoid enclosed storage for a wet sponge.
Clean it regularly
Use a suitable cleaning method and follow the sponge manufacturer’s directions.
Replace it on time
Replace it regularly, and do not keep using one that smells, tears, or falls apart.
Use separate cleaning tools
Do not use the same sponge for dishes, raw meat juices, and food preparation surfaces.
Should You Use a Sponge to Clean Kitchen Countertops?
It is better to use a suitable cleaning cloth or paper towel for countertops rather than a dish sponge that has been used on dirty dishes. A sponge may transfer microorganisms and food residue from one surface to another.
For surfaces used to prepare food, wash and sanitize them with products suitable for that surface. Follow the product label and the surface manufacturer’s care instructions. Cleaning removes visible dirt, while sanitizing reduces microorganisms to a safer level.
For dirty dishes
Use a dish sponge or brush intended for washing dishes.
For countertops
Use a clean cloth or suitable disposable wipe, followed by the required cleaning and sanitizing steps.
For raw meat spills
Use a disposable paper towel or suitable single-use material rather than a reusable dish sponge.
Is a Dish Brush More Hygienic Than a Sponge?
A dish brush can be a useful alternative because its bristles allow water to drain and air to move around them. Its handle also keeps your hands farther from the dirty water and food residue.
A 2022 study in the Journal of Applied Microbiology found that bacterial levels were generally lower in the used brushes than in the used sponges examined. The researchers also observed a reduction in Salmonella on brushes that were allowed to dry overnight. This result should not be treated as proof that every brush is always clean or that a brush needs no care.
If you prefer a sponge, you do not have to stop using one. Use a separate holder, maintain a regular cleaning routine, and replace it when needed. If you want a tool that drains and dries more easily, consider a brush.
Choose a brush
Useful when you want a tool that can drain and dry more readily.
Choose a sponge
Useful for tasks where its soft surface and flexible shape are helpful, provided you manage its cleaning and replacement.
Frequently Asked Questions
Q
Should a kitchen sponge be kept inside or outside the sink?
A sponge can be stored inside or outside the sink as long as the location is clean, open, and well-drained. An elevated sink caddy is a useful choice because water can drain into the basin. A raised soap dish on a dry counter can also work.
Q
Can I leave my kitchen sponge in a sponge holder all day?
Yes, you can keep it in an open holder between uses. Rinse the sponge, remove food debris, and squeeze out excess water first. Make sure the holder does not collect standing water and that the sponge has room to dry.
Q
Is it bad to leave a kitchen sponge in water?
Yes, leaving a sponge in standing water is a poor storage habit. It keeps the sponge wet and can expose it to food residue and microorganisms in the sink. Remove it from the water and store it in a raised, open holder.
Q
Can I store my kitchen sponge under the sink?
Do not store a wet sponge in a closed cabinet under the sink. The enclosed space may trap moisture and limit airflow. If you want to keep a spare sponge in the cabinet, make sure it is clean and completely dry before putting it away.
Q
How do I stop my kitchen sponge from smelling?
Rinse the sponge after use, remove food particles, squeeze out excess water, and store it in an open holder. Clean the holder regularly and replace the sponge if it develops a bad smell. A smelly sponge should not be kept just because it still looks usable.
Q
Do suction-cup sponge holders work on every kitchen sink?
No. Suction cups may not grip well on textured, curved, or uneven sink surfaces. Check the holder instructions and the sink material before installing it. If the cups keep falling off, try a faucet-mounted holder, a suitable adhesive holder, or a raised dish beside the sink.
Q
Can I put two sponges in one kitchen sink holder?
You can if the holder is large enough to keep them apart and allow air to move around both sponges. Do not squeeze them together in a small, closed holder. If you use separate sponges for different tasks, choose a holder with separate sections and clear labels.
Q
Should the sponge touch the sink while it is drying?
It is better to keep the sponge raised above the sink floor. The sink can hold food residue, soap, and water after washing dishes. An open holder helps separate the sponge from these materials while allowing excess water to drain.
✦ Wrapping Up
Conclusion
The best place for a kitchen sponge is an open, raised holder near the sink. It should be easy to reach, allow water to drain, and leave enough space for air to move around the sponge. A sink-wall caddy, faucet-mounted rack, or raised soap dish can all work when used correctly.
Avoid leaving your sponge at the bottom of the sink, beside the drain, on a wet counter, or inside a closed container. These spots can keep it damp and expose it to food residue. A simple rinse, squeeze, and proper storage routine can make your sink area easier to manage.
Remember that storage alone does not make a sponge safe. Clean it regularly, replace it when it smells or becomes worn, and use separate tools for tasks that could spread foodborne germs. If you want an option that dries more easily, a dish brush is worth considering.
💡 Key Takeaway
Choose an open sponge holder with drainage holes, place it near the sink but away from the drain, and rinse and squeeze your sponge after every use before returning it to the holder.