
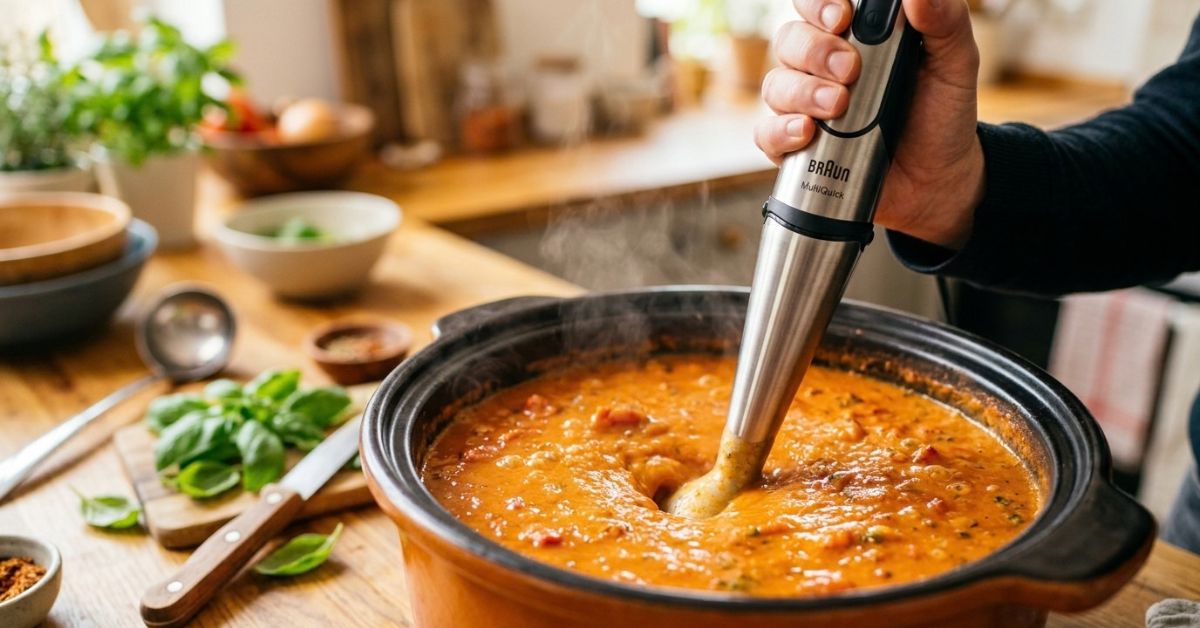
Making soup with an immersion blender is much easier than moving hot soup into a countertop blender. The trick is keeping the blade fully covered, using a deep pot, and blending in slow bursts.
I’ve found that most soup problems come from rushing the blending step. Too much speed can cause splashes, while holding the blender in one spot can leave the soup uneven. Here’s how to get smooth, creamy soup without covering the kitchen in orange soup dots.
How to Use Immersion Blender for Soup
An immersion blender, also called a stick blender or hand blender, lets you blend soup right in the pot. You do not need to transfer the hot soup to another container.
Before blending, cook the vegetables until they are soft enough for the blade to break them down. Then place the blender head near the bottom of the pot before turning it on.
| Step | What to Do |
| 1 | Cook the soup until vegetables are soft |
| 2 | Turn off the heat before blending |
| 3 | Put the blade under the soup surface |
| 4 | Start on low speed |
| 5 | Move the blender slowly around the pot |
| 6 | Stop when the texture looks right |
The depth matters more than many people expect. A wide, shallow pot can make splashing easier. A deep saucepan or soup pot gives the blender more room to work safely.
Should You Blend Soup While It Is Hot?
Yes, but use care. Hot soup can splash badly if you lift the blender head above the surface while it is running.
I prefer turning off the heat first and letting the soup stop bubbling. Keep the blender head submerged during blending. If the soup is very hot, wear an oven mitt on the hand holding the pot handle.
| Soup Condition | Better Approach |
| Gentle heat | Turn off heat and blend |
| Boiling hard | Let it stop bubbling first |
| Very thick soup | Add a little broth before blending |
Never blend a violently boiling soup. The spinning blade can send hot liquid up toward your hands and face.
Get the Blade Position Right Before You Blend
The position of the immersion blender makes a huge difference.
Place the blade guard near the bottom of the pot. Keep it fully covered by liquid. Then use short pulses at first.
Once the soup starts moving, slowly sweep the blender through different areas of the pot. Do not jab it up and down like a mixer.
That habit can pull air into the soup and create a lot of splashing.
Why Does My Immersion Blender Splash Soup?
Usually, the blender head is too close to the surface.
If the blade breaks through the soup while spinning, it can throw liquid around the pot. The same thing happens when you move the blender too quickly.
| Problem | Likely Cause | Simple Fix |
| Soup splashes | Blade near surface | Keep it submerged |
| Soup barely moves | Blender too deep or thick soup | Raise slightly or add broth |
| Uneven texture | Staying in one spot | Sweep around the pot |
| Lots of foam | Too much air | Use slower movements |
A small change in angle can help too. Tilt the blender slightly so the blade can circulate the soup without constantly hitting the bottom.
How Long Should You Blend Soup?
There is no perfect time for every soup.
A soft vegetable soup may take only 30 to 60 seconds. A chunky potato or bean soup can take longer. Start with short bursts and check the texture.
| Soup Type | Typical Blending Need |
| Tomato soup | Short blending |
| Carrot soup | Medium blending |
| Potato soup | Short to medium blending |
| Bean soup | Longer blending |
| Broccoli soup | Medium blending |
Do not keep blending just because the motor is running. Over-blending can make some soups too thick or gluey.
Potato soup is a good example. Potatoes contain starch, and aggressive blending can release more starch. The result can be stretchy instead of creamy.
How Do You Make Soup Smooth With an Immersion Blender?
Blend the cooked ingredients while they are soft and surrounded by enough liquid. Move the blade slowly through the whole pot.
For an extra-smooth soup, blend longer in short bursts and check the texture between each burst. If needed, pass the soup through a fine strainer afterward.
You usually do not need a countertop blender unless you want a very silky restaurant-style finish.
What Soups Work Best With an Immersion Blender?
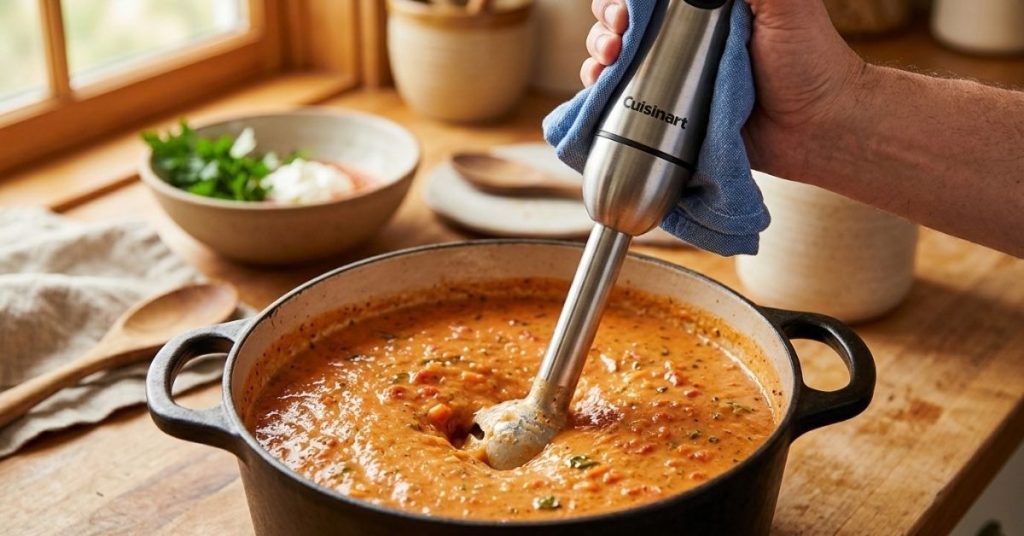
An immersion blender works especially well with soups built around soft vegetables, beans, lentils, and cooked tomatoes.
Creamy tomato soup, carrot soup, pumpkin soup, butternut squash soup, pea soup, and many lentil soups are easy choices.
| Soup | Immersion Blender Result |
| Tomato soup | Very smooth |
| Carrot soup | Smooth and creamy |
| Pumpkin soup | Thick and smooth |
| Lentil soup | Creamy with some texture |
| Potato soup | Creamy, but avoid over-blending |
You can also blend only part of the soup. This is one of my favorite tricks for chunky soups.
For example, blend about half of a bean or vegetable soup. Leave the rest chunky. You get a creamy base without losing all the texture.
Can You Use an Immersion Blender for Chunky Soup?
Yes. You do not have to turn the whole pot into a puree.
Blend in short bursts and stop while some pieces remain. This works well for bean soup, vegetable soup, and chowder-style recipes.
The key is to stop early. Once everything becomes smooth, you cannot easily bring the chunks back.
How to Use an Immersion Blender for Creamy Soup
For creamy soup, start with fully cooked vegetables. Carrots, squash, potatoes, cauliflower, and onions should be soft enough to crush easily with a spoon.
Add enough stock or cooking liquid for the blender to move freely.
Then blend from the bottom upward, moving slowly around the pot.
| For a Creamy Soup | Why It Helps |
| Soft vegetables | Blends faster |
| Enough broth | Helps circulation |
| Low speed first | Reduces splashing |
| Slow movement | Gives an even texture |
| Short pauses | Makes texture easier to check |
If the soup is too thick, add broth a little at a time. It is much easier to thin soup than to rescue a watery soup.
Cream, milk, coconut milk, or yogurt can also be added depending on the recipe. If using dairy, avoid boiling it hard after adding it.
Common Immersion Blender Mistakes That Cause Trouble
Most immersion blender mistakes are simple. They also tend to happen when someone is hungry and trying to finish dinner quickly.
Mistake 1: Turning It On Above the Soup
This is probably the easiest way to create a kitchen cleanup job.
Put the blade into the soup first. Then start the motor.
Mistake 2: Pulling the Blender Up Too Fast
Even when the blade starts fully covered, lifting it quickly can create a whirlpool and splash.
Move it slowly.
Mistake 3: Blending Only the Center
The center may look smooth while vegetables around the edges remain chunky.
Sweep the blender around the pot. Check the sides and bottom.
| Mistake | Better Habit |
| Start above soup | Submerge first |
| Lift quickly | Lift slowly |
| Blend only center | Move around the pot |
| Use full speed immediately | Start low |
| Blend nonstop | Pause and check |
Mistake 4: Ignoring the Pot Bottom
Sometimes vegetables settle at the bottom. The blender may not reach them well if you keep it near the surface.
Lower the blender carefully and use short pulses.
Do not press hard against a delicate nonstick pot. The blender guard can scratch some cookware if handled roughly.
How to Blend Soup Without Scratching Your Pot
This is one area where the type of cookware matters.
Some immersion blender guards are made from plastic and are gentler on cookware. Others may have harder surfaces that can scratch certain pots if dragged along the bottom.
Keep the blender mostly upright. Avoid scraping it across the pot.
| Cookware | Good Practice |
| Stainless steel | Use normal care |
| Nonstick | Avoid dragging the guard |
| Enameled pot | Keep movements gentle |
| Ceramic cookware | Avoid hard contact |
If protecting a nonstick surface is important, check the blender’s manual before using it directly in the pot.
A silicone or soft-edged blender guard can also be useful when compatible with the model.
Do You Need to Add Cream Before or After Blending?
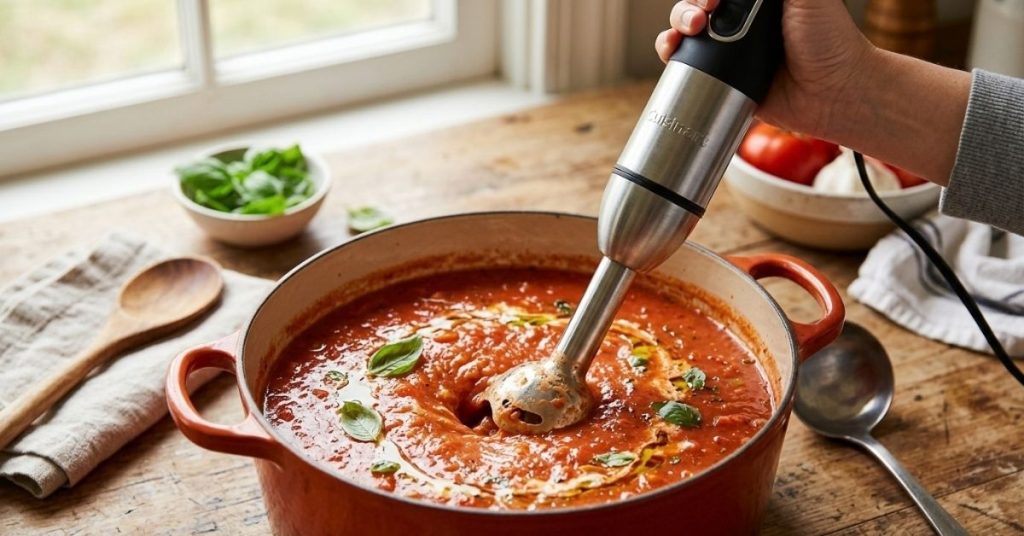
For many creamy soups, it is easier to blend the vegetables and broth first. Then add cream near the end.
This gives you more control over the final texture.
For example, blend a tomato soup until smooth. Then stir in cream and taste it. You can add more cream without making the entire soup harder to adjust.
What If the Soup Is Too Thick?
Add warm broth, stock, water, milk, or another suitable liquid in small amounts.
Do not dump in a full cup at once. A few tablespoons can make a surprising difference.
| Soup Problem | Adjustment |
| Too thick | Add broth slowly |
| Too thin | Simmer gently |
| Too bland | Add salt and seasoning |
| Too heavy | Add broth or a little acid |
| Too chunky | Blend in short bursts |
Taste after every major adjustment. Blending can change how strong the seasonings seem, especially when you add more liquid.
Can You Blend Meat, Rice, or Pasta in Soup?
You can blend some cooked ingredients, but the result depends heavily on the ingredient.
Soft cooked meat can break apart, but an immersion blender is not the best tool if you want clean pieces of meat.
Rice and pasta can also become very soft and starchy when blended.
| Ingredient | What to Expect |
| Cooked beans | Blends well |
| Lentils | Blends well |
| Soft vegetables | Blends very well |
| Cooked meat | Can become shredded or pasty |
| Pasta | Can turn starchy |
If the soup contains meat or noodles that you want to keep intact, blend the vegetable base before adding them.
That small change can make the final soup much better.
When an Immersion Blender Is Not the Best Choice
An immersion blender is convenient, but it is not perfect for every soup.
If you want an ultra-smooth soup with zero bits, a high-powered countertop blender may give a finer result. A countertop blender can also handle some very thick mixtures more effectively.
The tradeoff is transferring hot soup.
| Immersion Blender | Countertop Blender |
| Blends in the pot | Requires transfer |
| Less cleanup | More parts to wash |
| Easy for soup | Can create very smooth results |
| Good for small batches | Useful for larger batches |
For everyday soup, the immersion blender often wins on convenience. You can blend, taste, adjust, and serve from the same pot.
That is a big reason it is so useful on busy nights.
How to Clean an Immersion Blender After Soup
Clean the blender soon after use. Dried soup can collect around the blade guard and become annoying to remove.
Unplug the blender before cleaning the motor body. If the blending shaft is removable, wash it according to the manufacturer’s instructions.
Never put the motor housing under running water unless the manufacturer specifically says it is safe.
| Part | Cleaning Approach |
| Removable shaft | Wash as directed |
| Blade area | Rinse carefully |
| Motor housing | Wipe with a damp cloth |
| Dried soup | Soak removable parts if allowed |
A quick rinse right after blending is much easier than scrubbing dried tomato or pumpkin soup later.
Also check around the blade guard. Small bits of onion, herbs, or vegetables can hide there.
A Simple Method I Keep Coming Back To
When making blended soup, the process does not need to be complicated.
Cook the vegetables until very soft. Add enough stock to create movement. Turn off the heat. Let the bubbling settle.
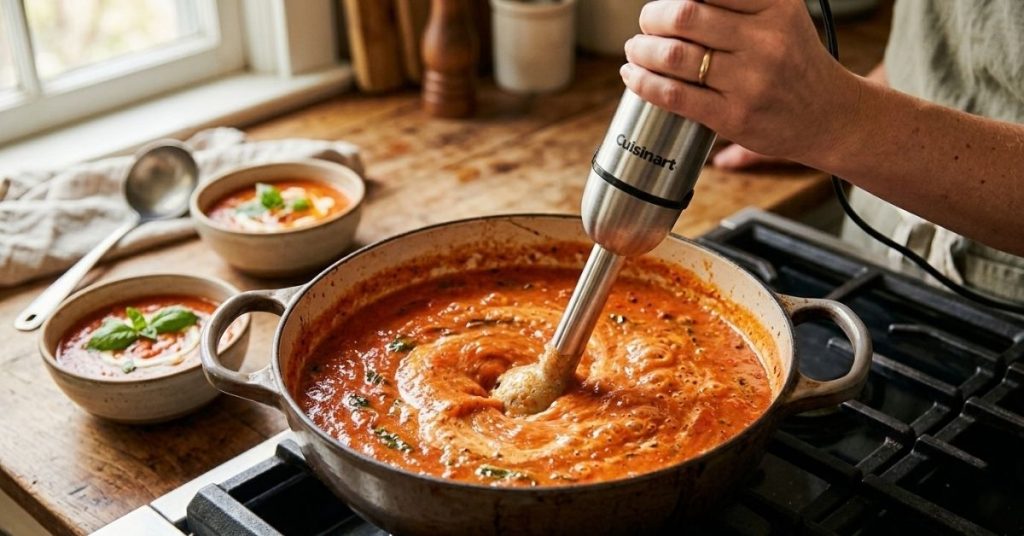
Then place the immersion blender fully into the soup. Start slowly. Blend in short bursts. Move around the pot rather than staying in one place.
Stop before you think you need to. Check the texture. Blend again only if needed.
This approach gives you much more control than simply running the blender at full speed for several minutes.
Final Thoughts
The biggest lesson with How to Use Immersion Blender for Soup is simple: keep the blade submerged and slow down. Most splashes, uneven textures, and overly thick soups come from rushing the process.
An immersion blender is especially handy for tomato, carrot, pumpkin, lentil, bean, and other vegetable soups. Use short bursts, adjust the liquid slowly, and remember that you can always blend more. You cannot un-blend a soup once it is completely smooth.
To Get More About Home, Kitchen Accessories Product You Can Visit Our Site. If You Found our Posts Helpful Leave a Comment Below