
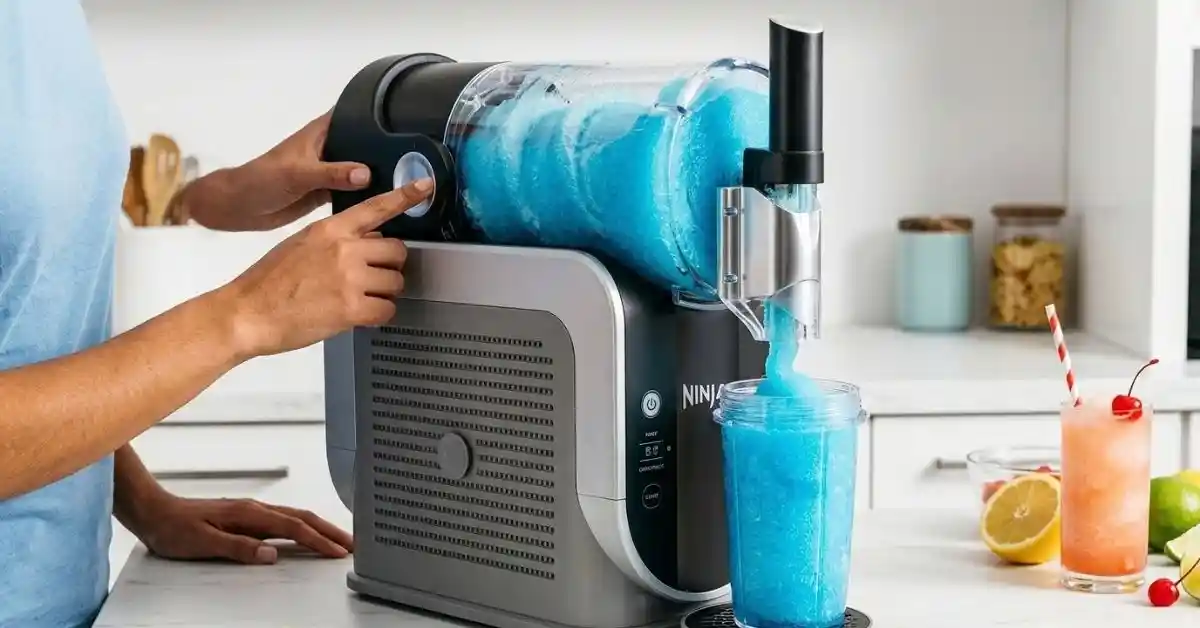
Starting your Ninja Slushie machine is easier than it first looks. I found that the main trick is knowing what to add, which button to press, and when to adjust the temperature. Once you understand the order, making frozen drinks feels much less confusing.
In this guide, I’ll walk you through how to start your Ninja Slushie machine, from setting it up on the counter to choosing a preset and serving your drink. I’ll also cover common mistakes, freezing times, and what to do when your slushie does not turn out right.
How Do I Start My Ninja Slushie Machine?
To start your Ninja Slushie machine, assemble the parts, add your liquid, turn on the machine, and select a preset. The machine will then begin cooling your drink.
Here is the basic process:
| Step | What to Do |
| 1 | Assemble and check the machine |
| 2 | Add your liquid |
| 3 | Turn on the power |
| 4 | Select a preset |
| 5 | Wait for the drink to freeze |
| 6 | Dispense your slushie |
The Ninja SLUSHi Professional Frozen Drink Maker uses RapidChill technology. It cools your drink without needing ice cubes. However, the exact controls can vary between models, so check your owner’s guide if your machine looks different.
What Should You Check Before Starting?
Before pressing any buttons, take a moment to check the setup. This small step can prevent leaks, poor cooling, and frustrating delays.
Make sure:
- The machine sits on a flat, solid counter.
- The vessel and auger are installed correctly.
- The condensation catch is in place.
- The drip tray is attached.
- The machine has been upright for at least two hours before first use.
The two-hour wait helps the refrigerant settle after transport. I would not skip this step when setting up a new machine.
How to Set Up Your Ninja Slushie Machine for the First Time
Getting the parts in place is the first real step. The machine may look ready straight out of the box, but proper assembly matters.
Install the Auger and Vessel
The auger is the rotating part inside the drink vessel. It helps move the liquid while the machine cools it.
Follow these steps:
- Place the condensation catch beneath the evaporator.
- Slide the auger over the evaporator.
- Turn the auger until it fits onto the pin.
- Lift the bail handle.
- Slide the vessel over the auger and evaporator.
- Push the bail handle down to lock the vessel.
- Attach the drip tray to the front.
Do not force any part into place. If something does not fit, check its position and your manual before continuing.
| Part | Purpose |
| Auger | Moves the drink inside the vessel |
| Vessel | Holds the liquid |
| Evaporator | Cools the drink |
| Drip tray | Catches spills |
Clean the Parts Before Your First Drink
Wash the removable parts with warm, soapy water. Rinse them well and let them dry.
Wipe the motor base and control panel with a soft cloth. Avoid immersing the motor base in water.
This is a simple step, but it gives you a clean start. It also helps you learn which parts come off for later cleaning.
How Do I Add Liquid to My Ninja Slushie Machine?
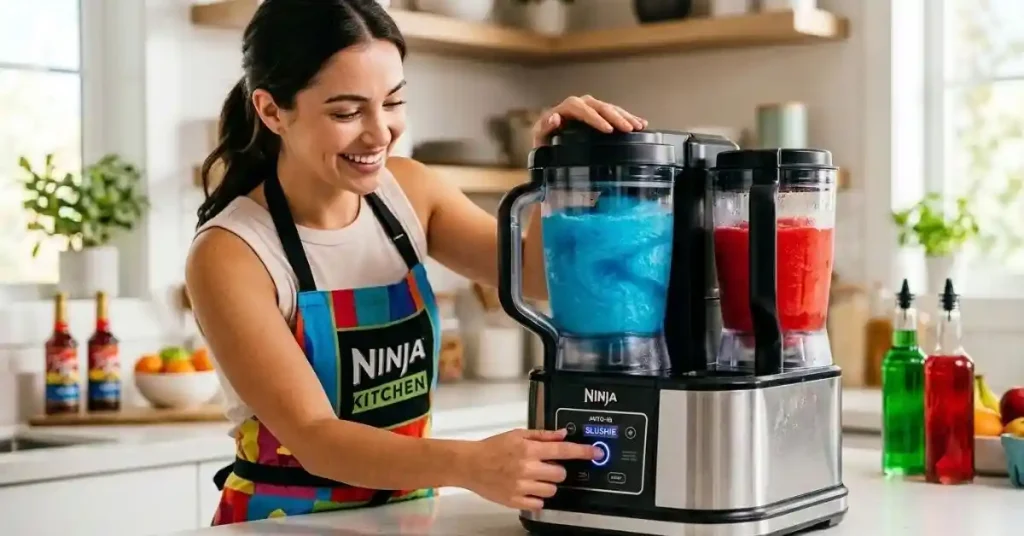
Once the machine is assembled, add your drink through the easy-fill port at the top of the vessel.
Open the cover, pour in your liquid, and close the cover before starting the preset.
How Much Liquid Should You Add?
For the Ninja SLUSHi Professional FS301 series, the minimum input is 16 ounces (480 ml), and the maximum capacity is 64 ounces (1.9 liters).
| Amount | What It Means |
| Below 16 oz | Too little for the specified minimum |
| 16–64 oz | Within the stated capacity |
| Above 64 oz | Exceeds the maximum capacity |
Do not fill beyond the maximum line. Also, do not assume that every Ninja frozen drink model has the same capacity. Check your specific model’s guide.
What Drinks Can You Put Inside?
The Ninja Slushie machine is designed for liquid-based frozen drinks. You can use suitable soda, lemonade, fruit juice, and other recommended beverages.
The key lesson is that this is not a regular blender. You should not add ice cubes, frozen fruit, or other solid ingredients that the manual prohibits.
| Suitable Starting Drink | What to Keep in Mind |
| Lemonade | Use a suitable sweetened recipe |
| Soda | Choose a drink that fits the preset |
| Fruit juice | Check sugar and recipe guidance |
| Premixed cocktail | Follow alcohol limits |
The manufacturer advises against adding hot ingredients or ice. Check the recipe guide for drinks with dairy, alcohol, or special ingredients.
How Do I Turn On My Ninja Slushie Machine?
After adding your drink, you can start the machine using the power button.
This part is simple, but the order matters.
Step-by-Step Power Instructions
- Plug the machine into a suitable power outlet.
- Press the power button.
- Wait for the control panel to activate.
- Choose the preset you want.
- Adjust the temperature if needed.
Some regional models also have a rear on/off switch. If yours does, turn that switch on before using the front power button.
Which Preset Should You Choose?
The Ninja Slushie Professional includes several presets. Your available options may vary by model.
| Preset | Intended Use |
| Slush | Standard frozen drinks |
| Frozen Cocktail | Suitable cocktail recipes |
| Frappé | Frappé-style drinks |
| Milkshake | Milkshake recipes |
| Frozen Juice | Suitable fruit juice drinks |
Start with the preset that matches your drink. The machine uses a default temperature for the selected program. You can adjust it when needed.
How Long Does a Ninja Slushie Machine Take to Freeze?
The Ninja Slushie machine may take around 15 to 60 minutes, depending on the drink, volume, and starting temperature.
That range is important because not every drink freezes at the same speed.
Why Some Drinks Freeze Faster
Several factors affect the process:
- Starting temperature of the liquid
- Amount of liquid in the vessel
- Sugar content
- Drink type
- Selected temperature setting
A cold drink may reach the desired texture sooner than a room-temperature drink. A large batch can also take longer.
| Situation | Possible Effect |
| Chilled liquid | May freeze faster |
| Large batch | May take longer |
| Different sugar levels | Can affect freezing |
| Wrong recipe | May not reach the desired texture |
The machine’s manual gives a 15–60-minute preparation range, but it is not a guarantee for every recipe.
How Do I Know When the Slushie Is Ready?
Watch the temperature indicators on the control panel.
During cooling, the LEDs pulse to show progress. When the drink reaches the desired temperature, the machine beeps and the indicators become solid.
The machine can then keep the drink at its ideal temperature.
How Do I Adjust the Temperature for a Thicker Slushie?
The default preset is a useful starting point. However, you may want a different texture depending on your drink.
The temperature controls let you adjust the frozen consistency.
How the Temperature Controls Work
For the Ninja SLUSHi Professional, the manual explains that:
- Lower temperature settings can help create a more sippable drink.
- Higher temperature settings can create a thicker, colder frozen texture.
Use small adjustments rather than changing the setting too much at once.
If your drink has not reached the desired texture after 60 minutes, the quick-start guide recommends increasing the temperature one level. Wait 10–15 minutes and check again. Repeat if needed.
| Problem | Suggested Action |
| Drink is not slushing | Check the recipe and wait |
| Texture is too thin | Try a small temperature adjustment |
| Texture is too thick | Adjust toward a more sippable setting |
| Drink is still not ready | Check ingredients and manual |
Important: The right setting depends on your recipe. Do not assume that the coldest setting always produces the best drink.
What Mistakes Should You Avoid When Starting Your Ninja Slushie Machine?
A few simple mistakes can make the first batch frustrating. Knowing them early can save time and ingredients.
Mistake 1: Adding Ice to the Vessel
This is one of the biggest misunderstandings. The Ninja Slushie machine does not need ice cubes to make frozen drinks.
Adding prohibited solid ingredients can interfere with the machine’s operation. Follow the owner’s guide instead of treating it like a blender.
Mistake 2: Using the Wrong Recipe
Not every drink works in the same way.
Sugar content, alcohol, and other ingredients can affect the freezing process. Some recipes may need specific measurements to produce the right texture.
Start with a recipe from the manufacturer’s guide. Then learn how your favorite drinks behave.
Mistake 3: Expecting an Instant Slushie
The machine cools the drink over time. It does not instantly turn room-temperature liquid into a frozen dessert.
If you are preparing drinks for guests, allow enough time for the batch to reach the desired texture.
| Mistake | Better Approach |
| Adding ice | Use suitable liquid ingredients |
| Overfilling | Stay within the fill line |
| Rushing the process | Allow time for cooling |
| Ignoring recipe limits | Follow the recipe guide |
What Should I Do If My Ninja Slushie Machine Is Not Starting?
If your Ninja Slushie machine does not start, check the basic setup before assuming there is a serious problem.
Quick Troubleshooting Checklist
| Issue | What to Check |
| No power | Check the outlet and power switch |
| Machine does not run | Check assembly and vessel position |
| Drink stays liquid | Check recipe, temperature, and wait time |
| Leaking | Check vessel and handle placement |
Make sure the machine is plugged in and the power switch is on if your model includes one. Check that the vessel is correctly locked.
If the machine still does not operate, consult the owner’s guide for your model. Avoid forcing parts or attempting repairs while the machine is plugged in.
What If the Drink Does Not Slush After 60 Minutes?
First, check the ingredients and the selected preset.
The quick-start guide suggests increasing the temperature one level when the drink has not reached the desired texture after 60 minutes. Wait 10–15 minutes before checking again.
If the drink still does not slush, review the recipe and troubleshooting instructions.
How Do I Dispense a Drink From My Ninja Slushie Machine?
Once the drink reaches the right texture, you can serve it through the front dispenser.
Place a cup on the drip tray beneath the spout. Slowly pull the handle to release the drink.
Release the handle to stop dispensing. Pour slowly to help avoid spills.
How to Serve Without Making a Mess
I recommend using a cup that fits comfortably under the spout. A larger cup can help when serving a thicker drink.
Keep the drip tray in place. It is there to catch drips, especially when you’re serving several drinks in a row.
| Serving Habit | Benefit |
| Use a suitable cup | Helps prevent spills |
| Pull the handle slowly | Gives you better control |
| Release the handle fully | Stops dispensing |
| Keep the drip tray in place | Catches drips |
The manufacturer advises keeping the preset running until the frozen drink has been dispensed. Follow the instructions for your model.
How Do I Clean the Ninja Slushie Machine After Starting It?
Cleaning is part of getting good results over time. A little attention after each use can make the next batch easier.
Use the Rinse Cycle
The Ninja SLUSHi Professional has a rinse cycle that agitates the drink system without cooling it.
The general process is:
- Dispense the remaining frozen drink.
- Stop the current preset.
- Press the RINSE button.
- Add warm water up to the maximum fill line.
- Slowly dispense the water into a large cup or bowl.
- Stop the rinse cycle.
- Turn off the machine.
The rinse cycle is not a replacement for full cleaning. Wash the required parts by hand or in a dishwasher according to the manual.
Why Should You Clean It Right Away?
Frozen drinks can leave residue inside the vessel and around the evaporator.
Cleaning soon after use helps remove leftover drink before it becomes harder to wash away. It also makes the machine ready for the next batch.
Do not leave cleaning until the next day just because you’re tired. That is an easy habit to regret when sticky residue has dried.
Final Thoughts
Starting your Ninja Slushie machine comes down to a few simple habits: assemble it correctly, use the right liquid, choose a suitable preset, and give the drink enough time to freeze. You do not need ice cubes, and you should not treat the machine like a standard blender.
My practical advice is to start with a simple recipe from the manufacturer’s guide. Once you understand the controls and freezing time, you can experiment with other drinks more confidently. A little patience makes the process much easier.
To Get More About Home, Kitchen Accessories Product You Can Visit Our Site. If You Found our Posts Helpful Leave a Comment Below